The Ember Deck
A Raspberry Pi 5-powered cyberpunk media system built into a vintage TV and radio.
Overview
What it is
The Ember Deck started because I wanted to learn electronics, and apparently my preferred learning style is diving out of the frying pan and directly into the fire, head first.
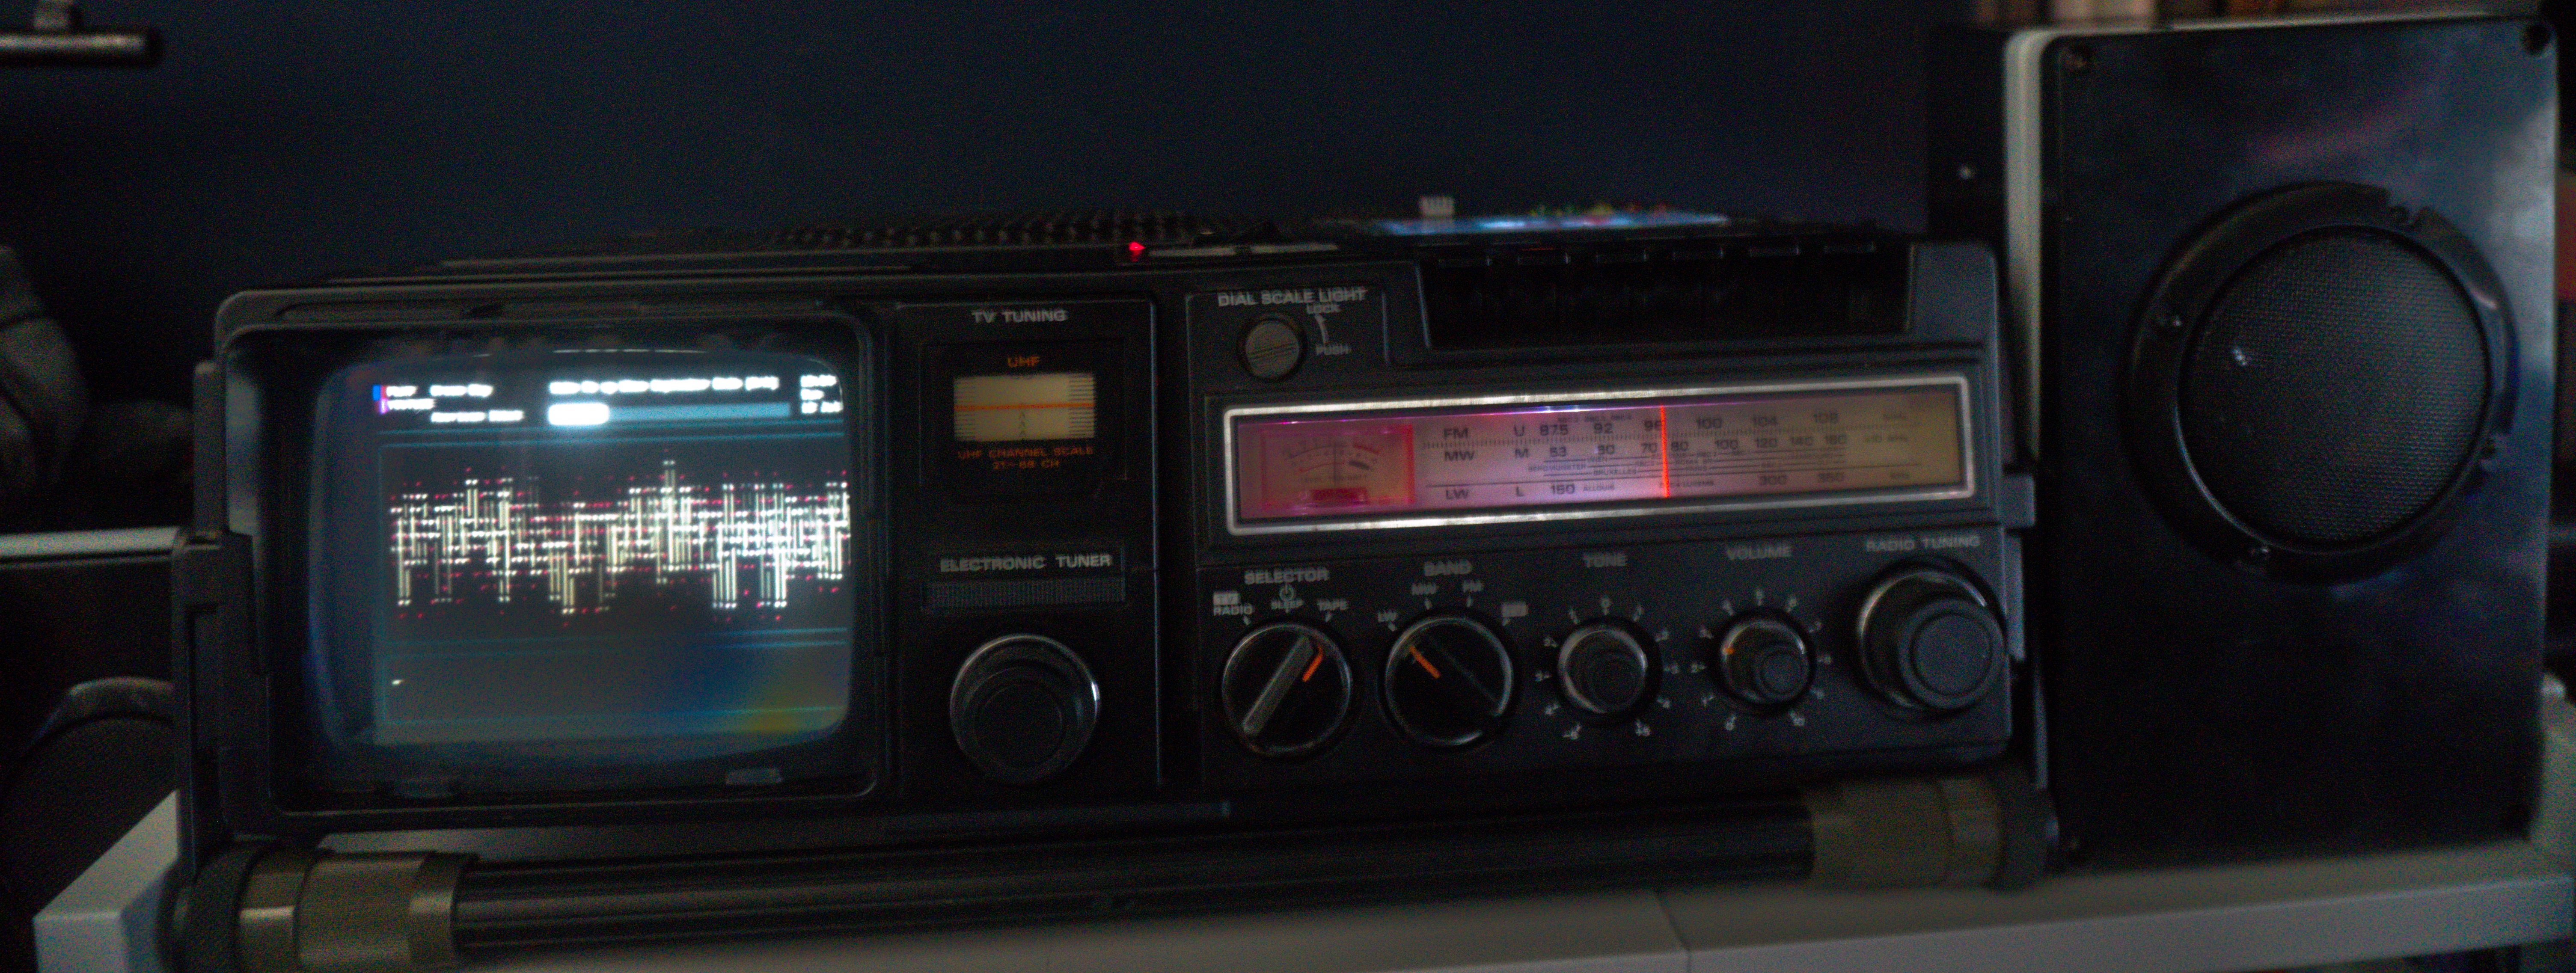
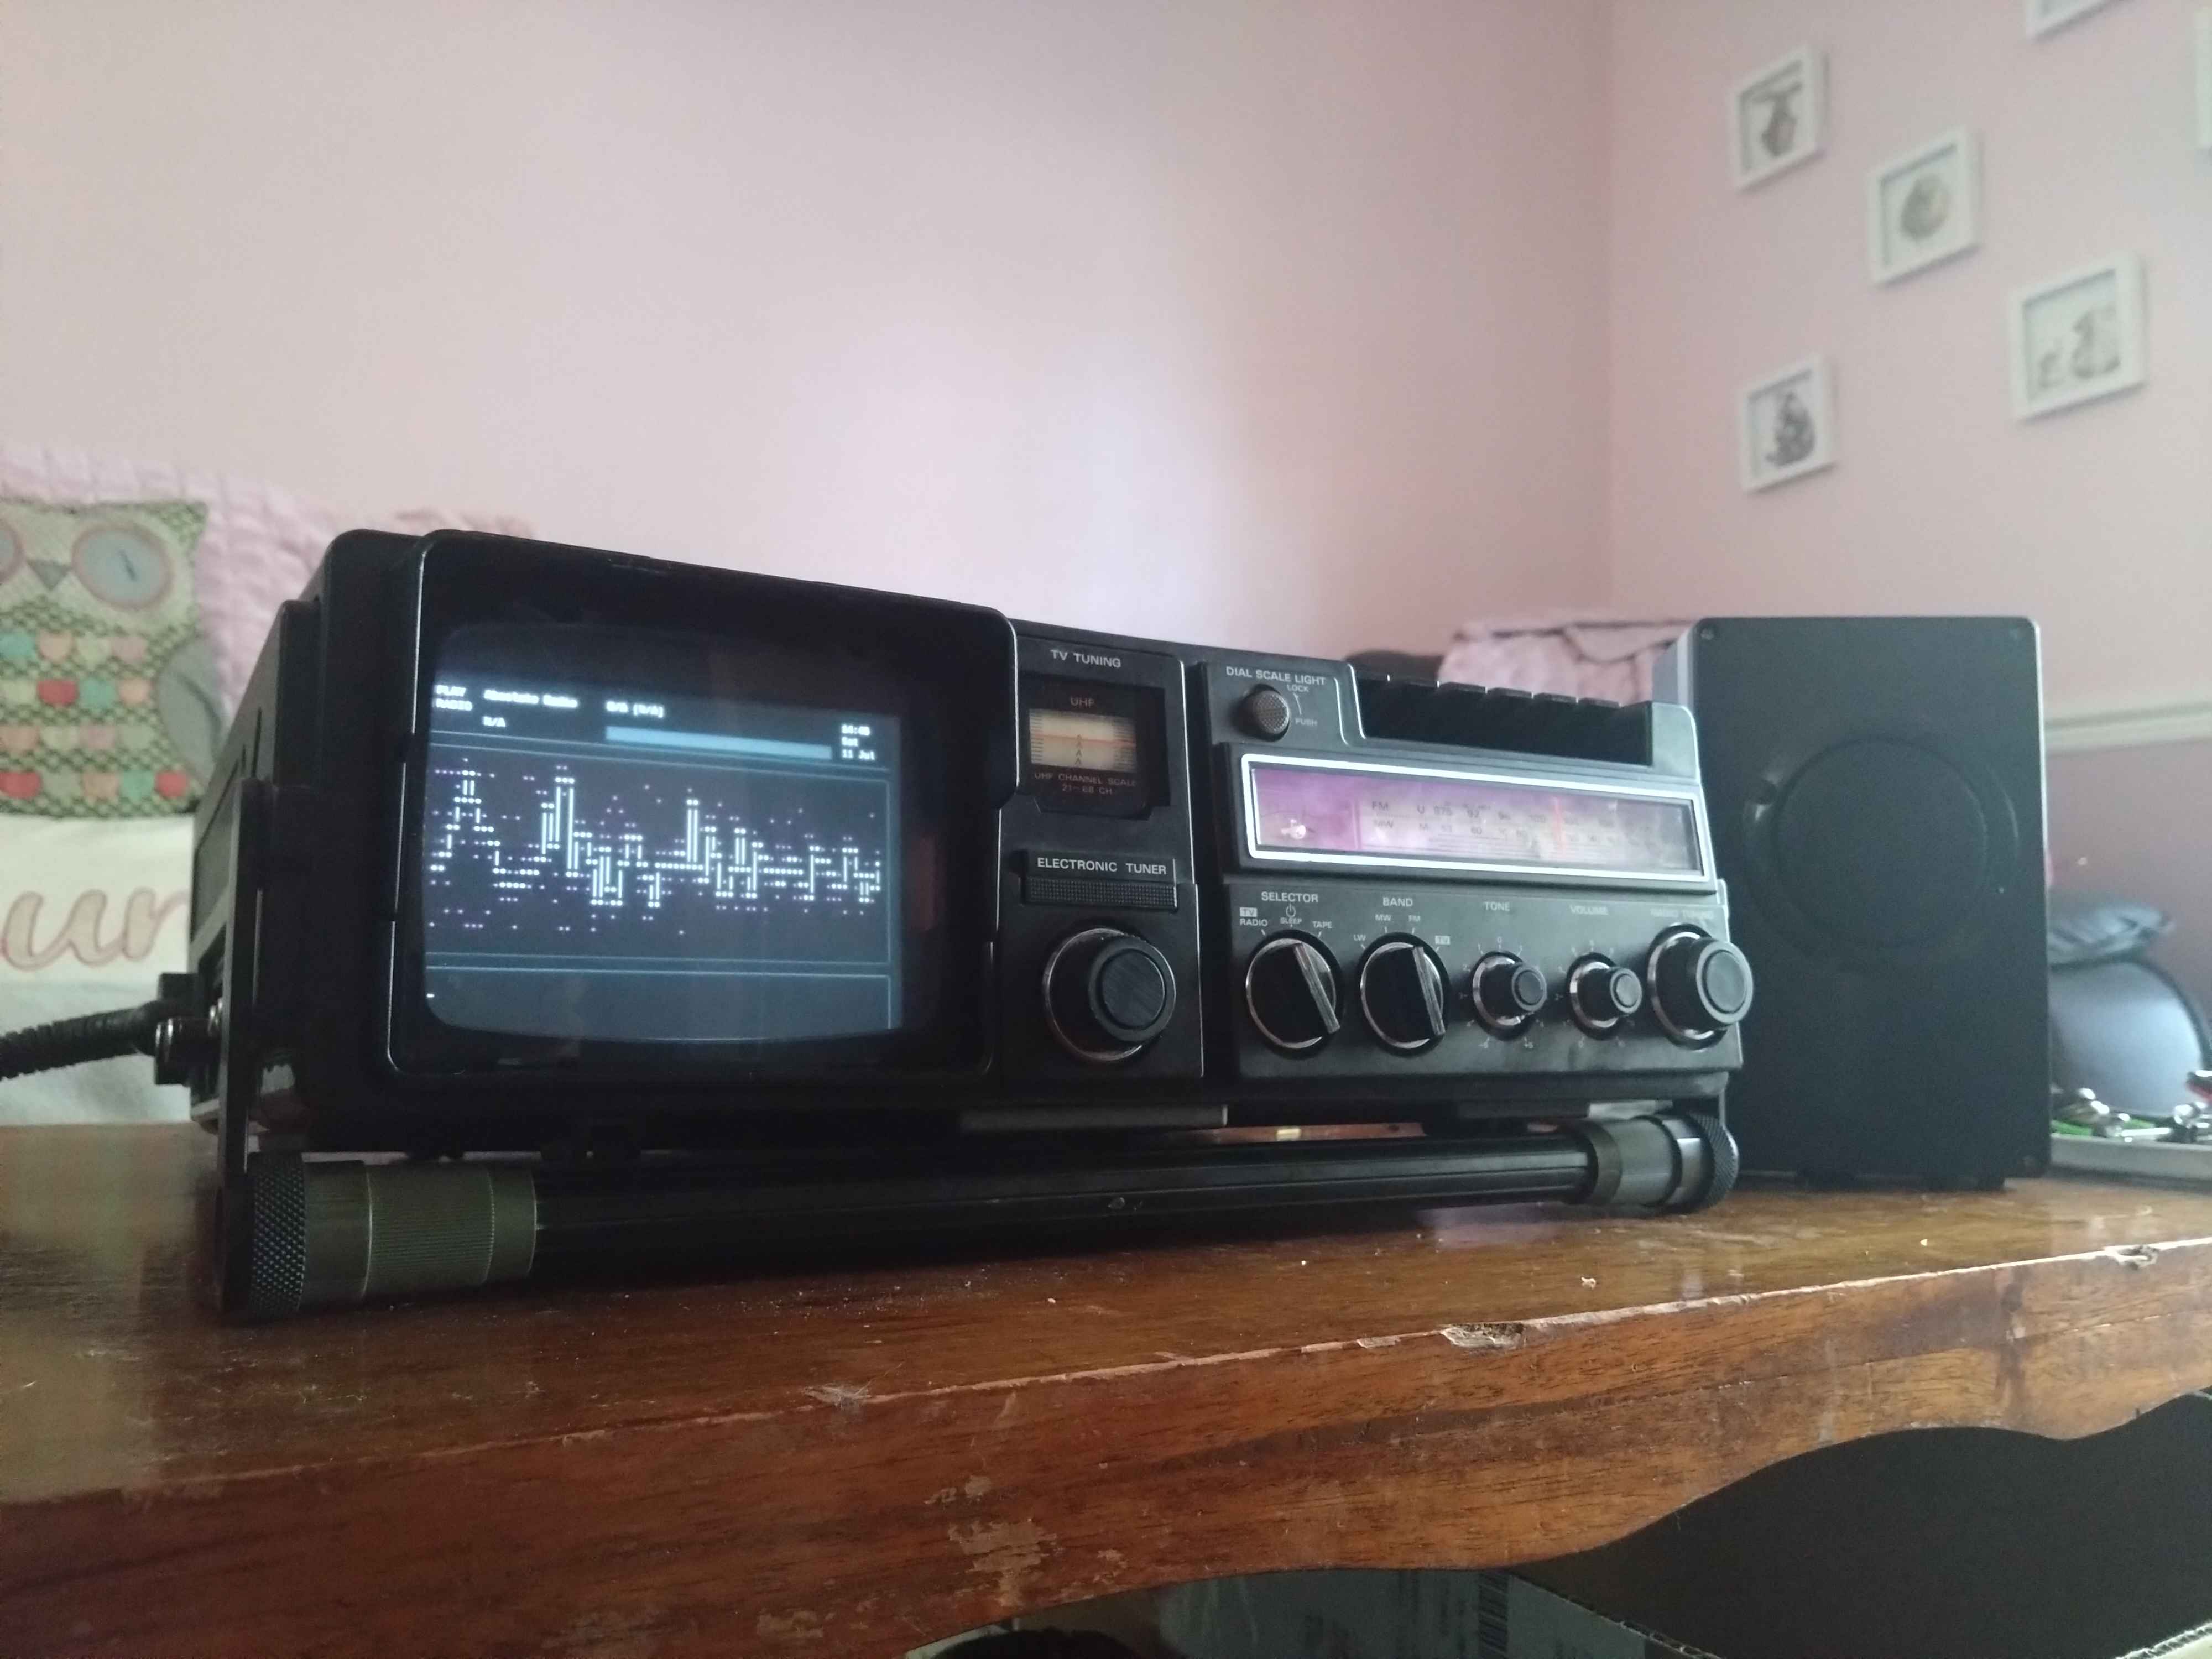
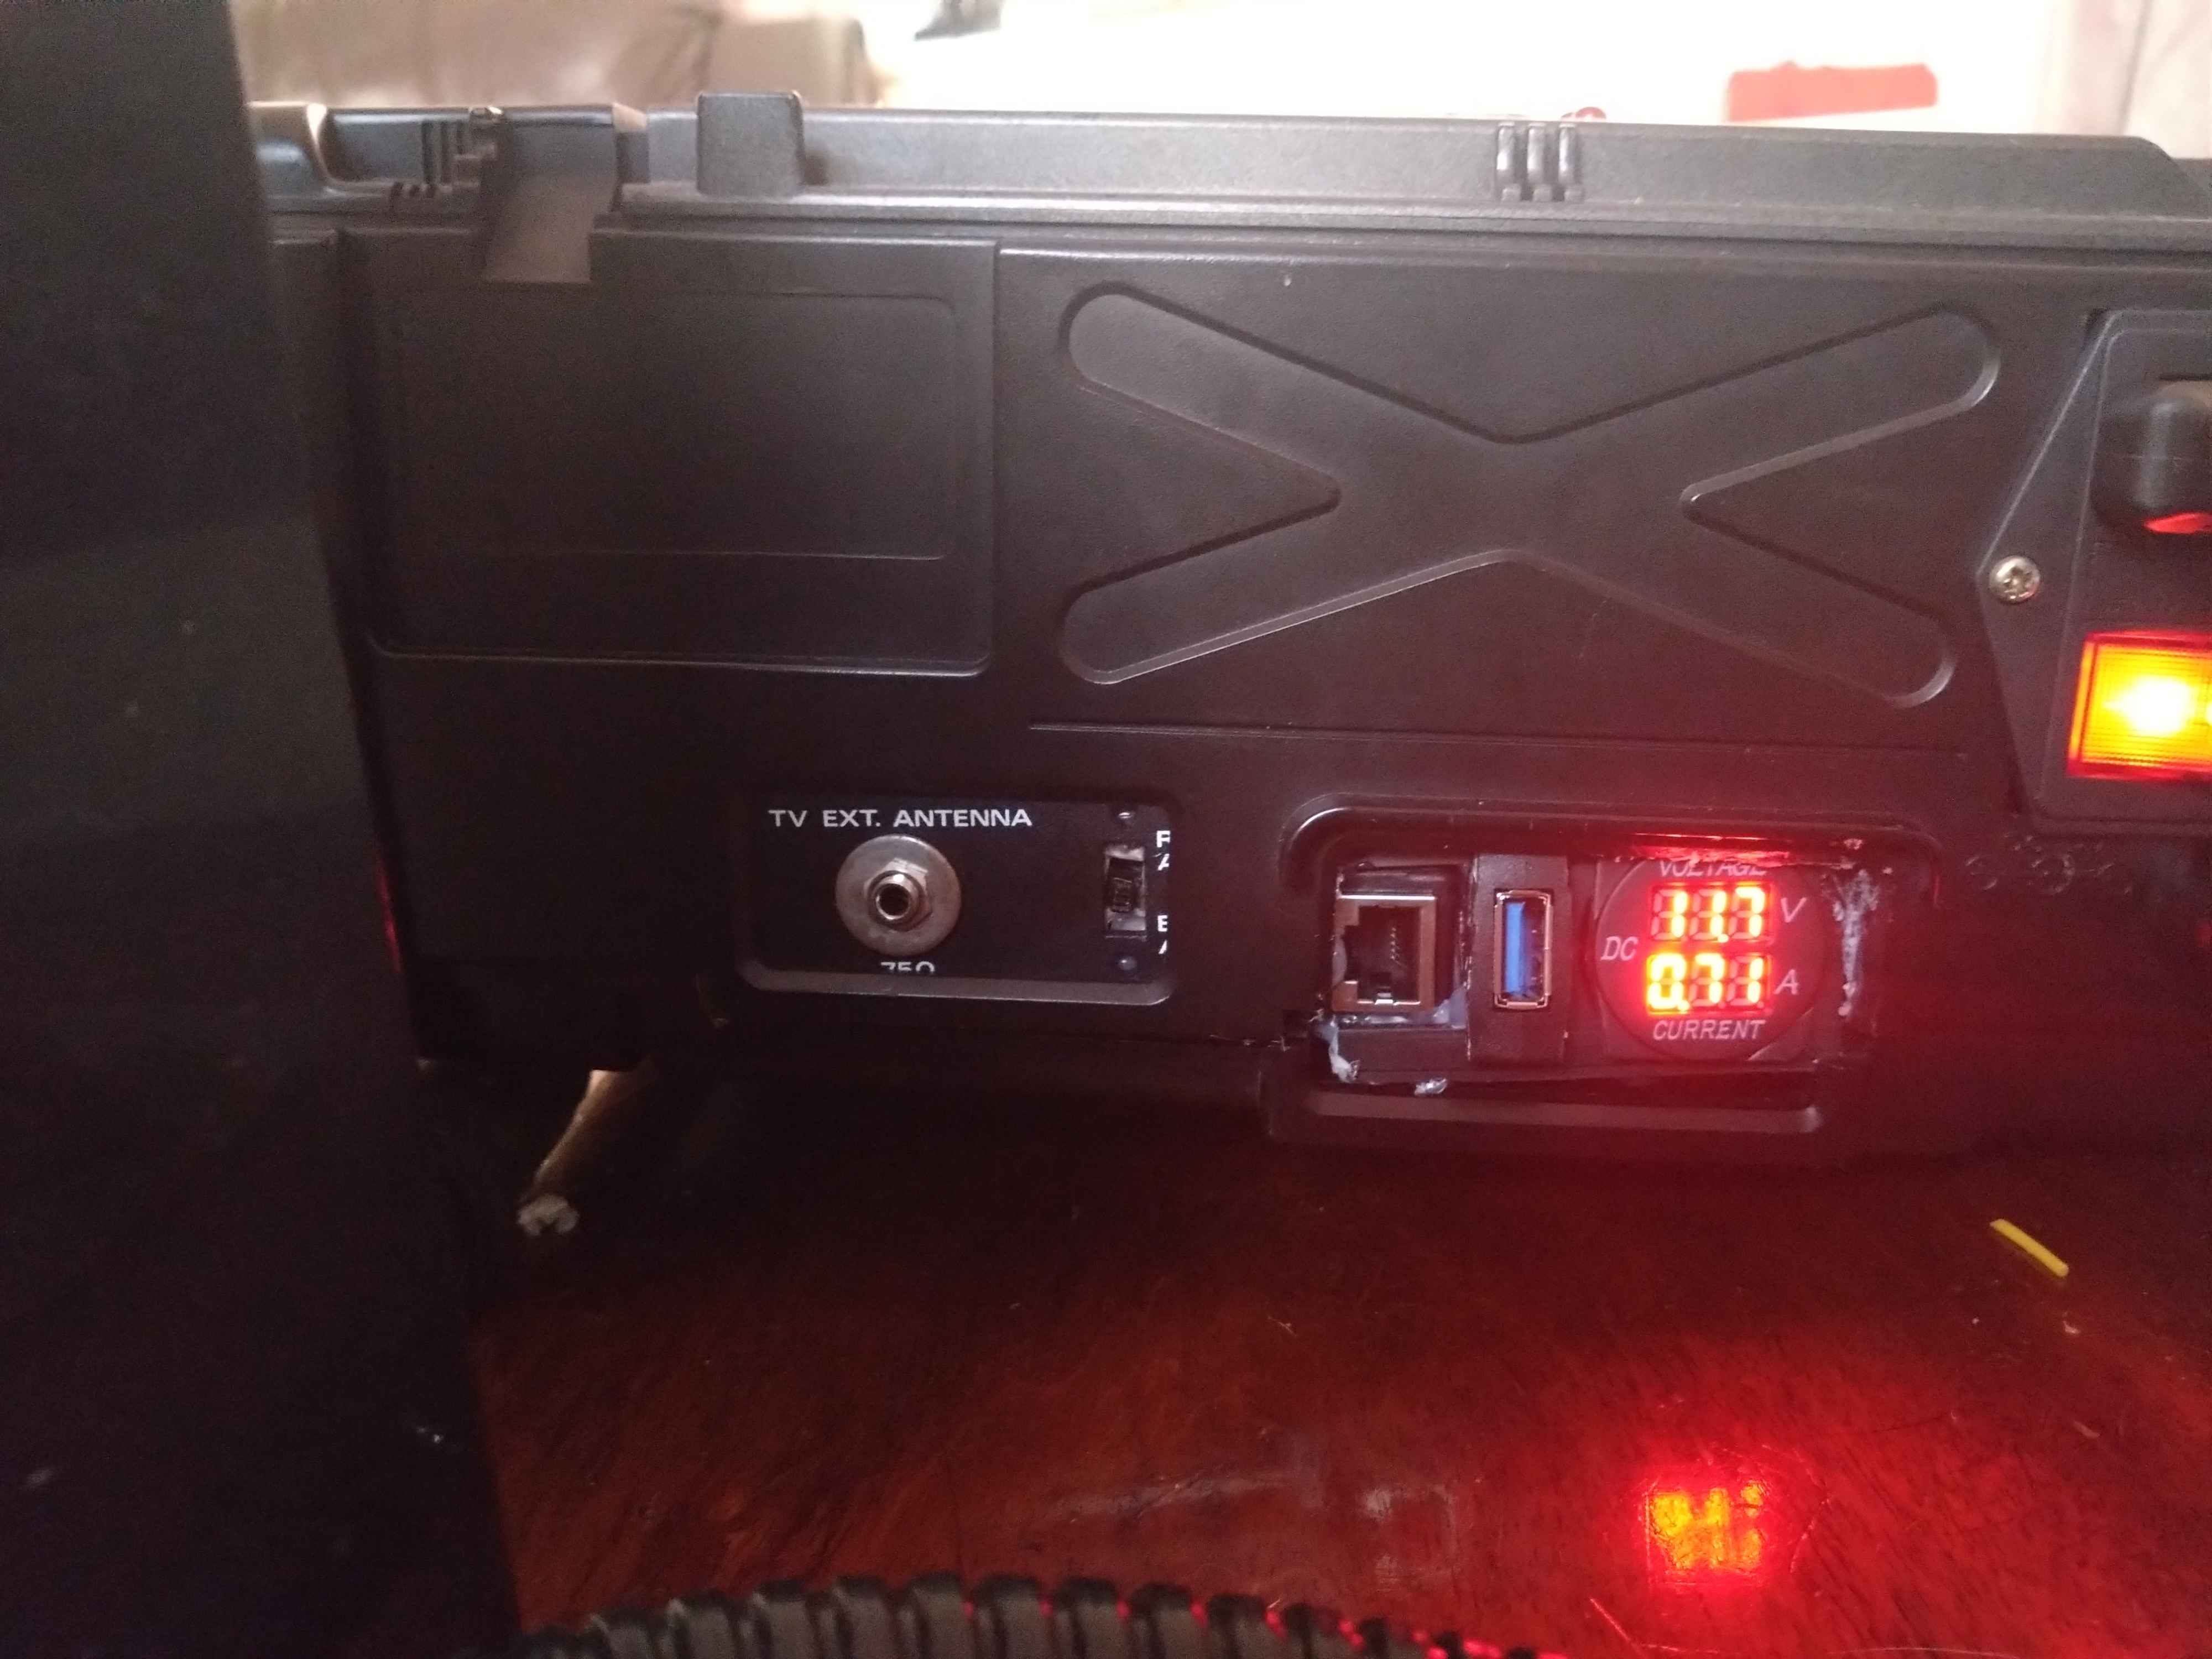
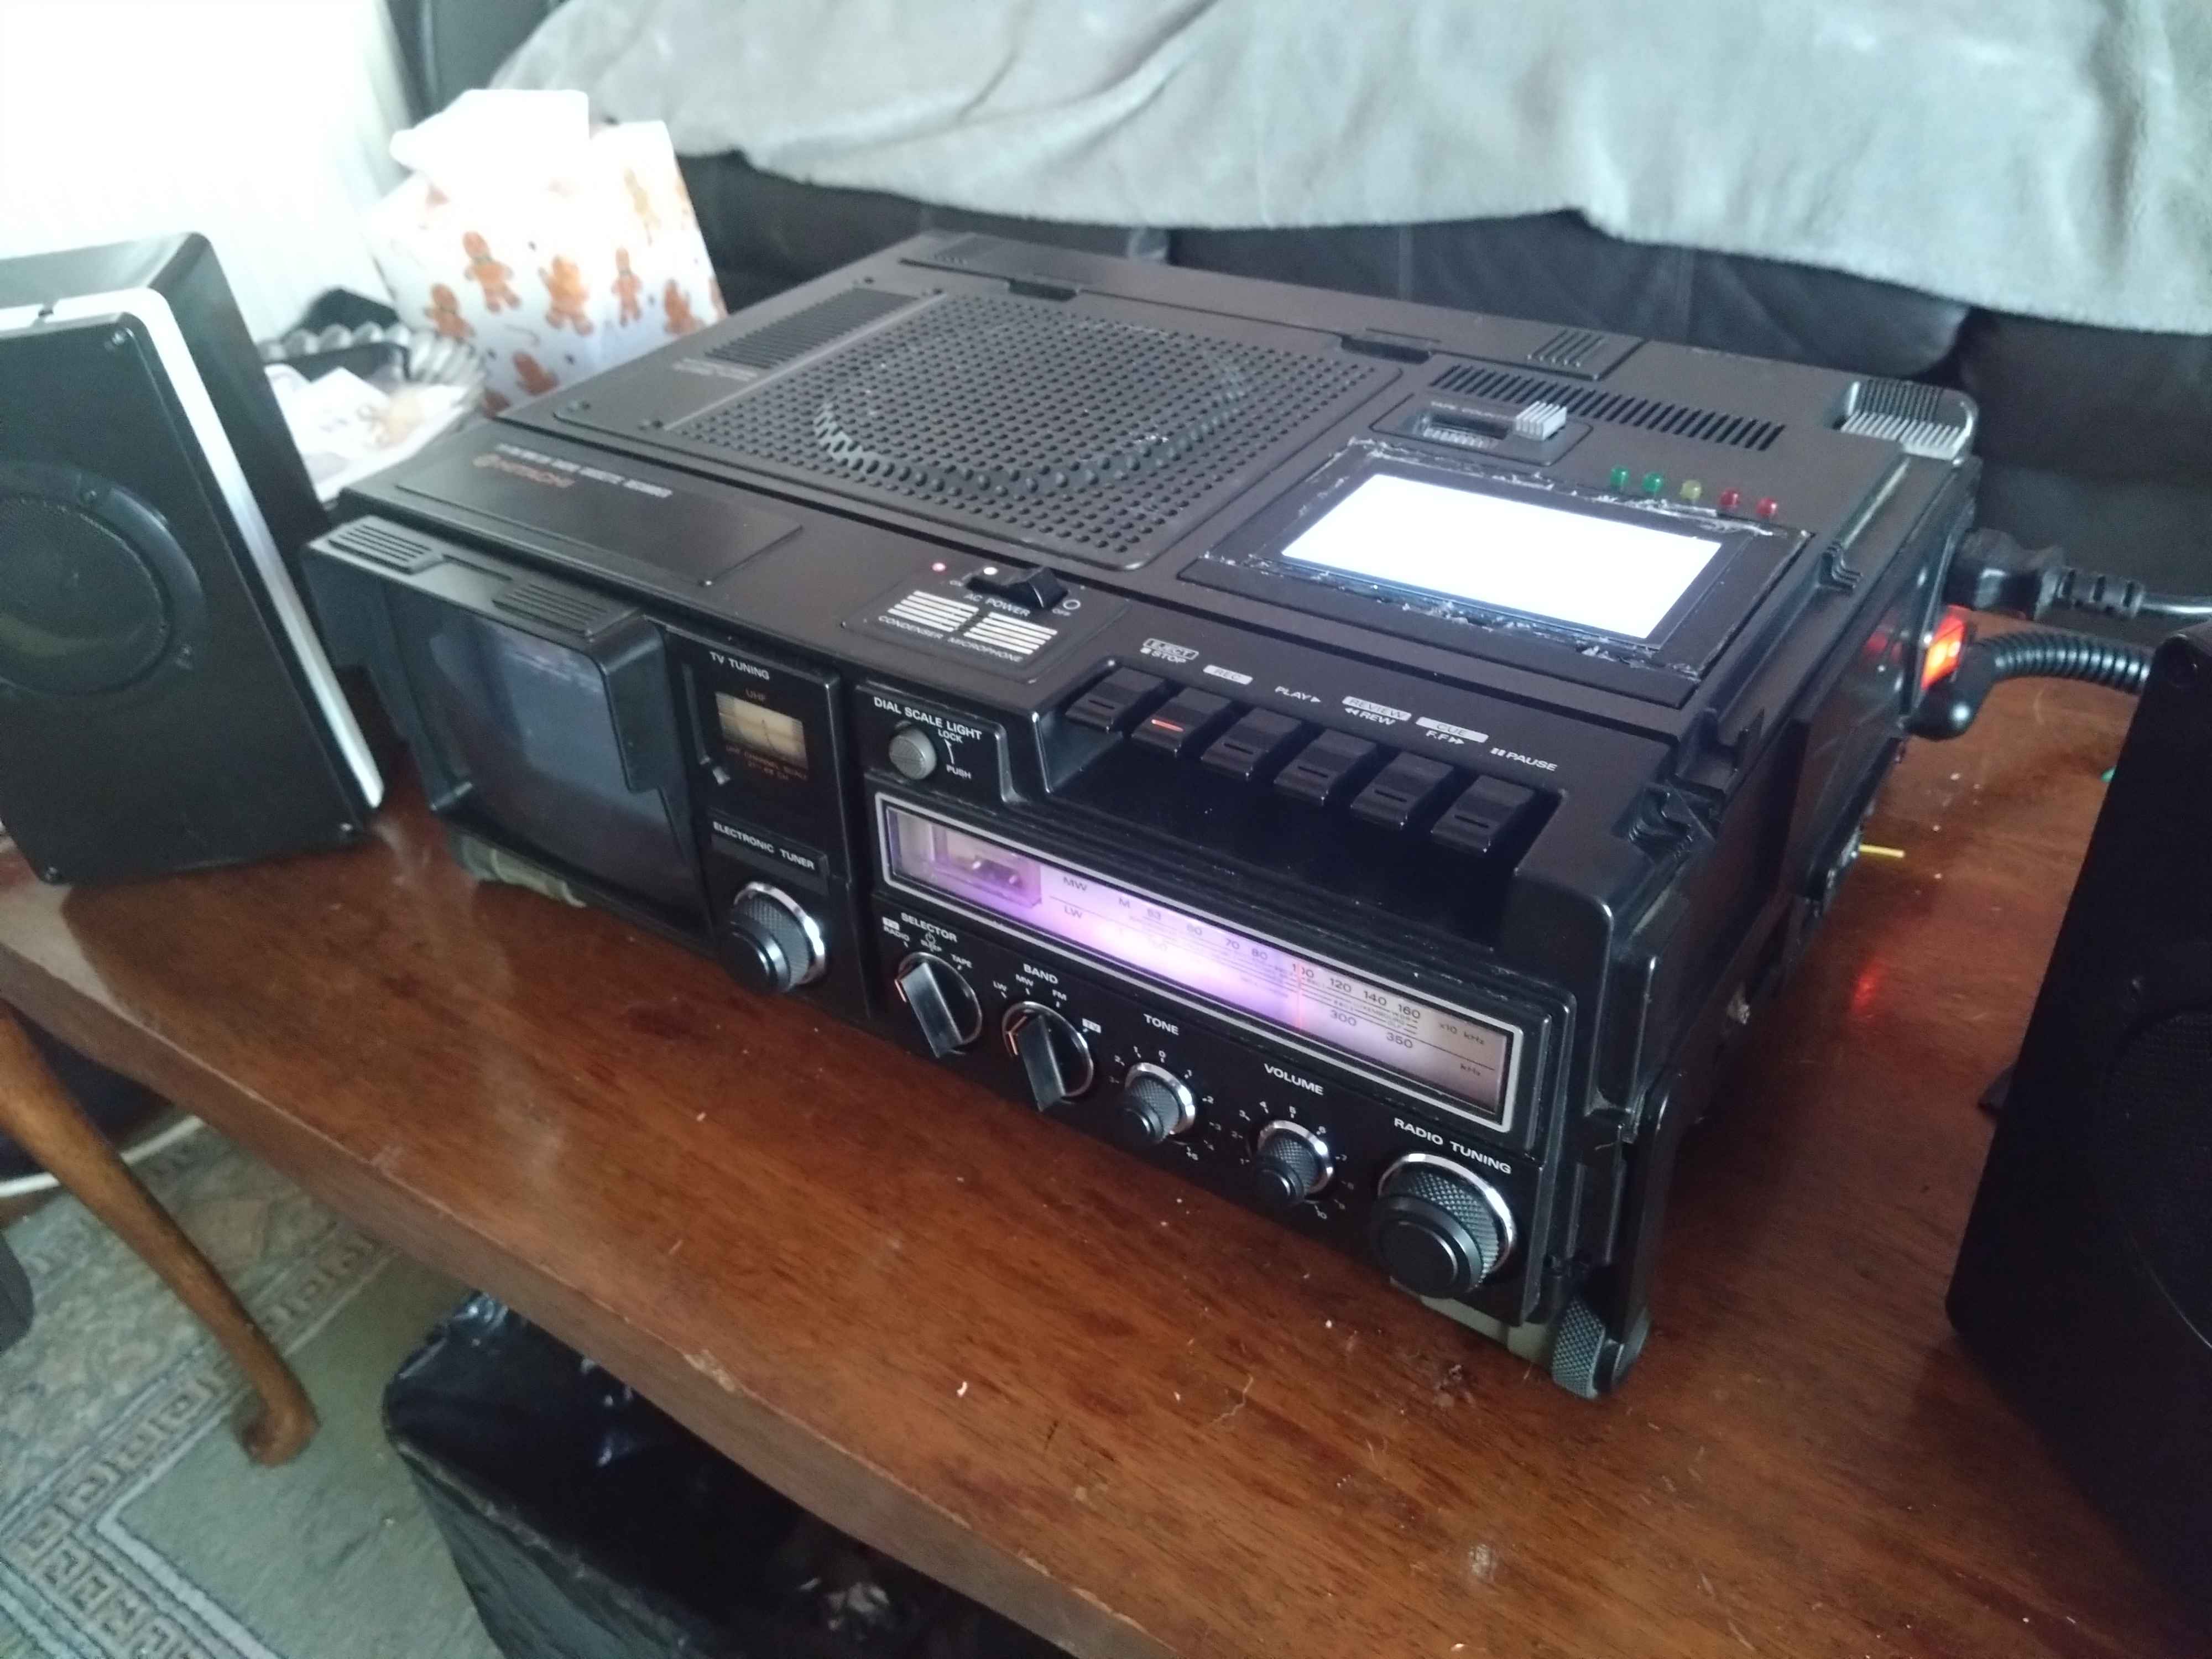
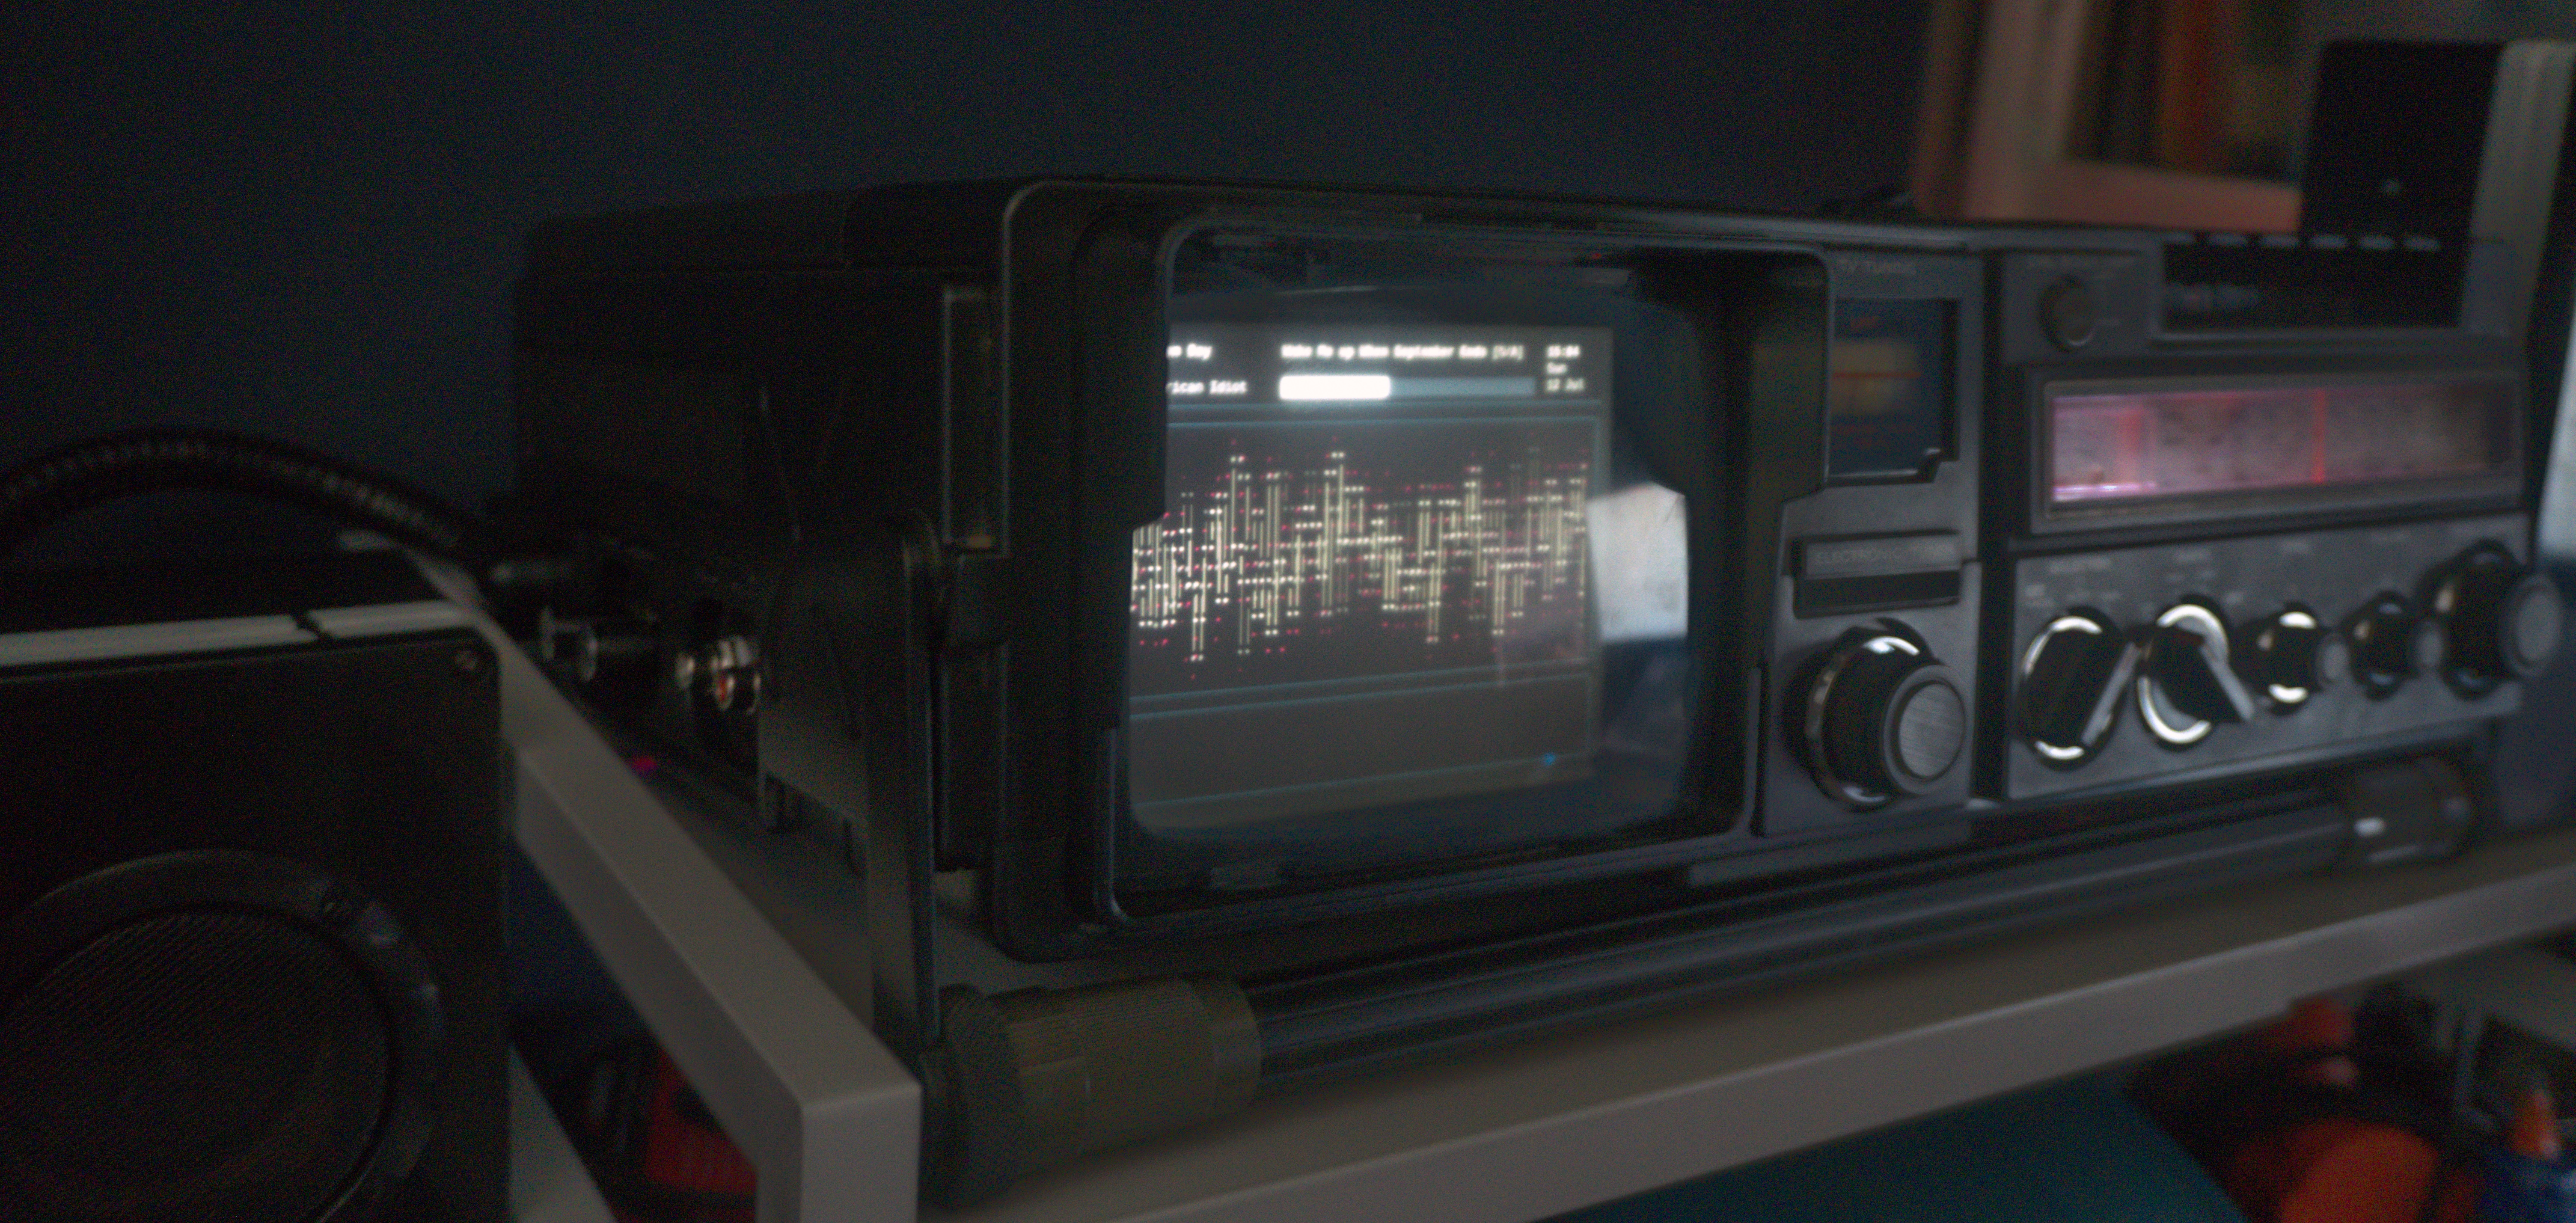
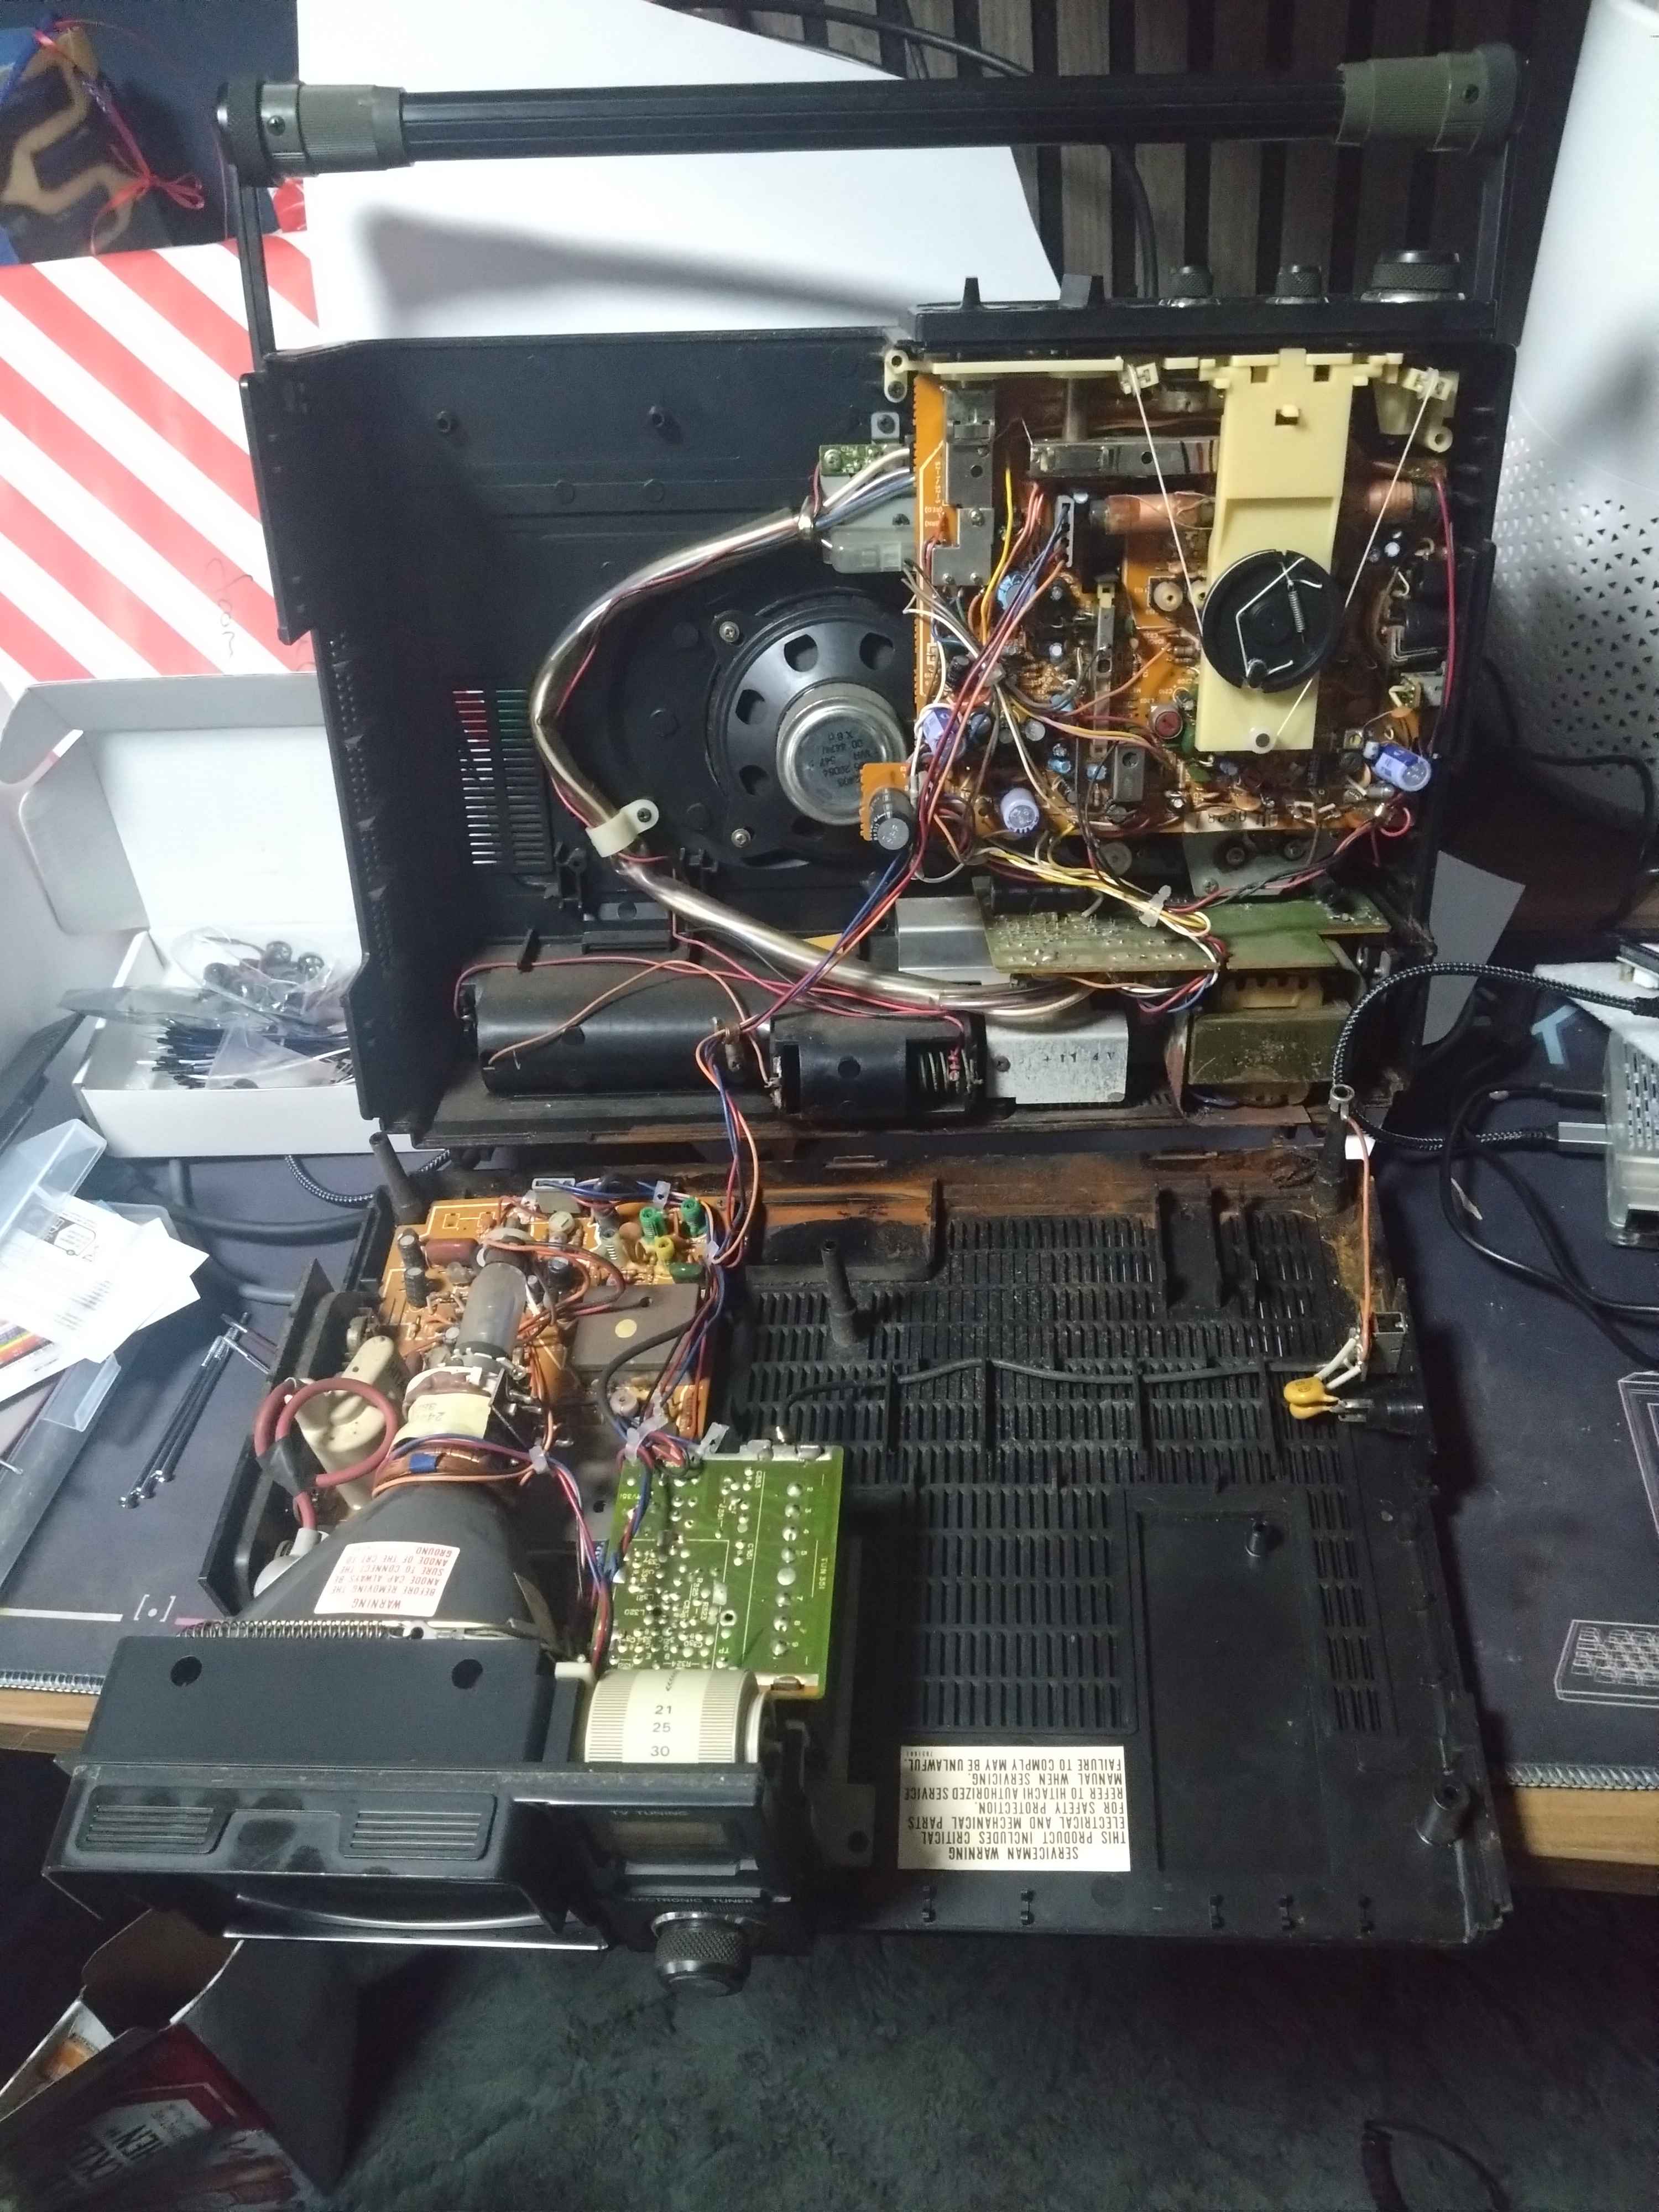
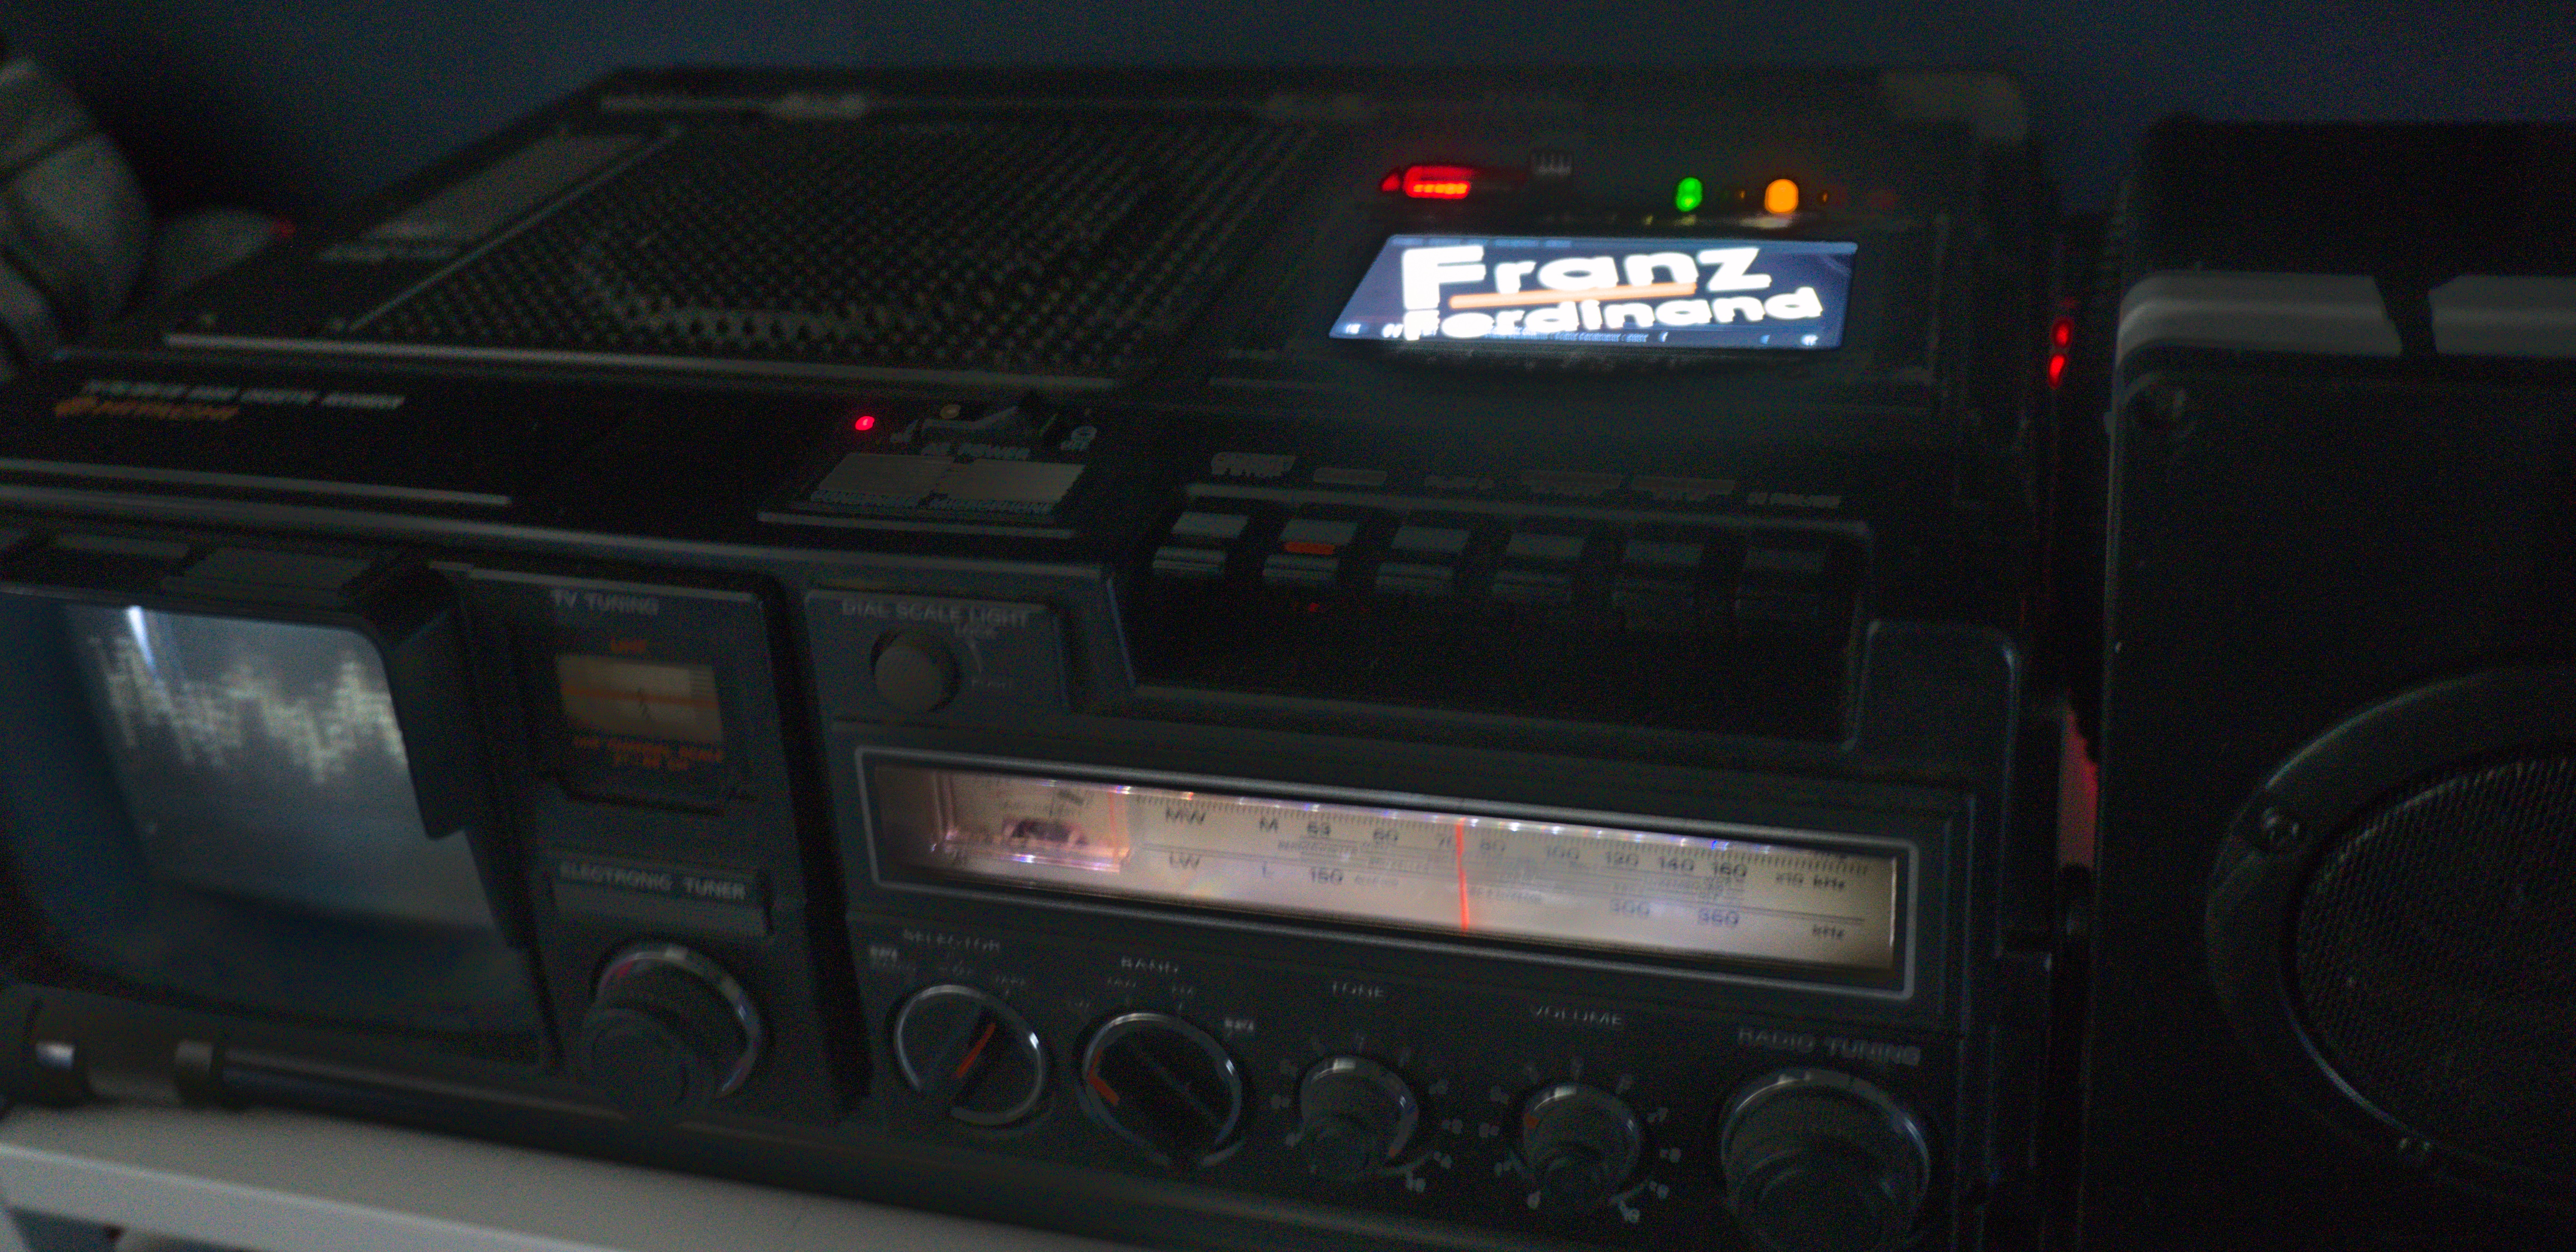
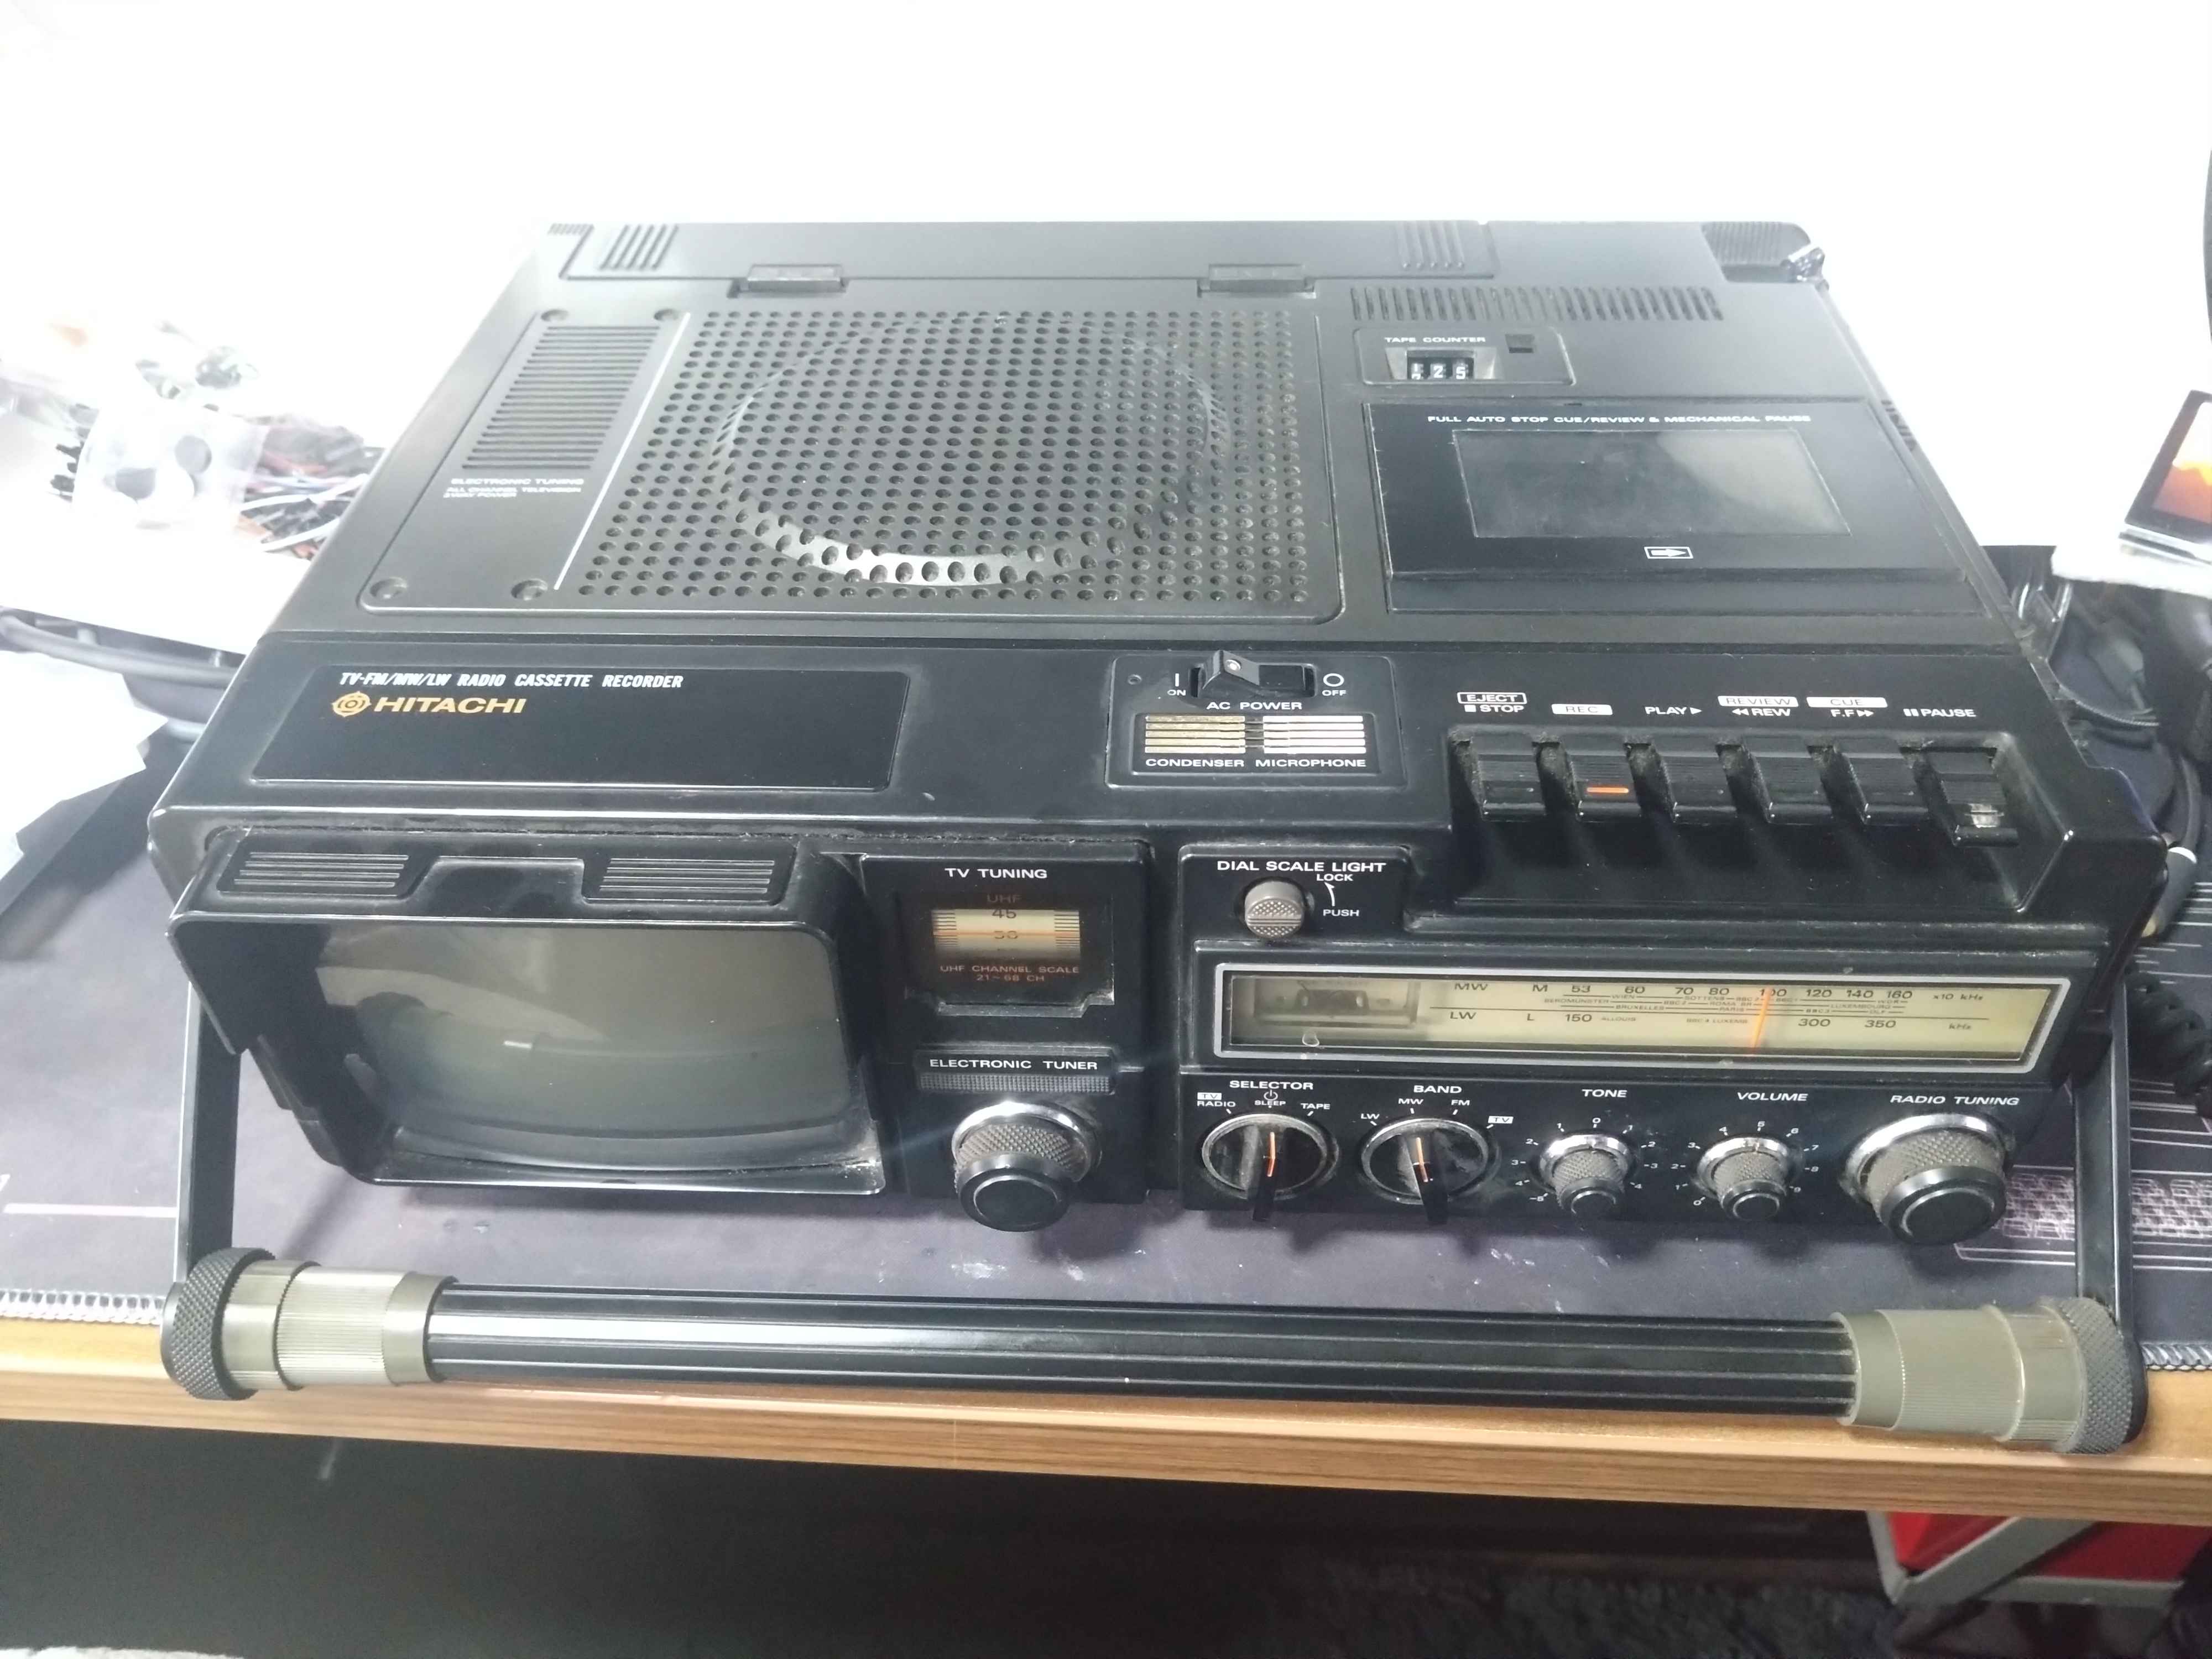
I already owned an old portable TV/radio that I occasionally take to re-enactment events. I used a cassette-to-aux adapter for music and an increasingly questionable chain of Raspberry Pi → HDMI → composite → RF → external antenna input for video. This allowed me and the bois to sit in the middle of a field watching old Top Gear specials on a 4-inch CRT, which is objectively a perfectly sensible use of technology.
That became the origin of the Ember Deck.
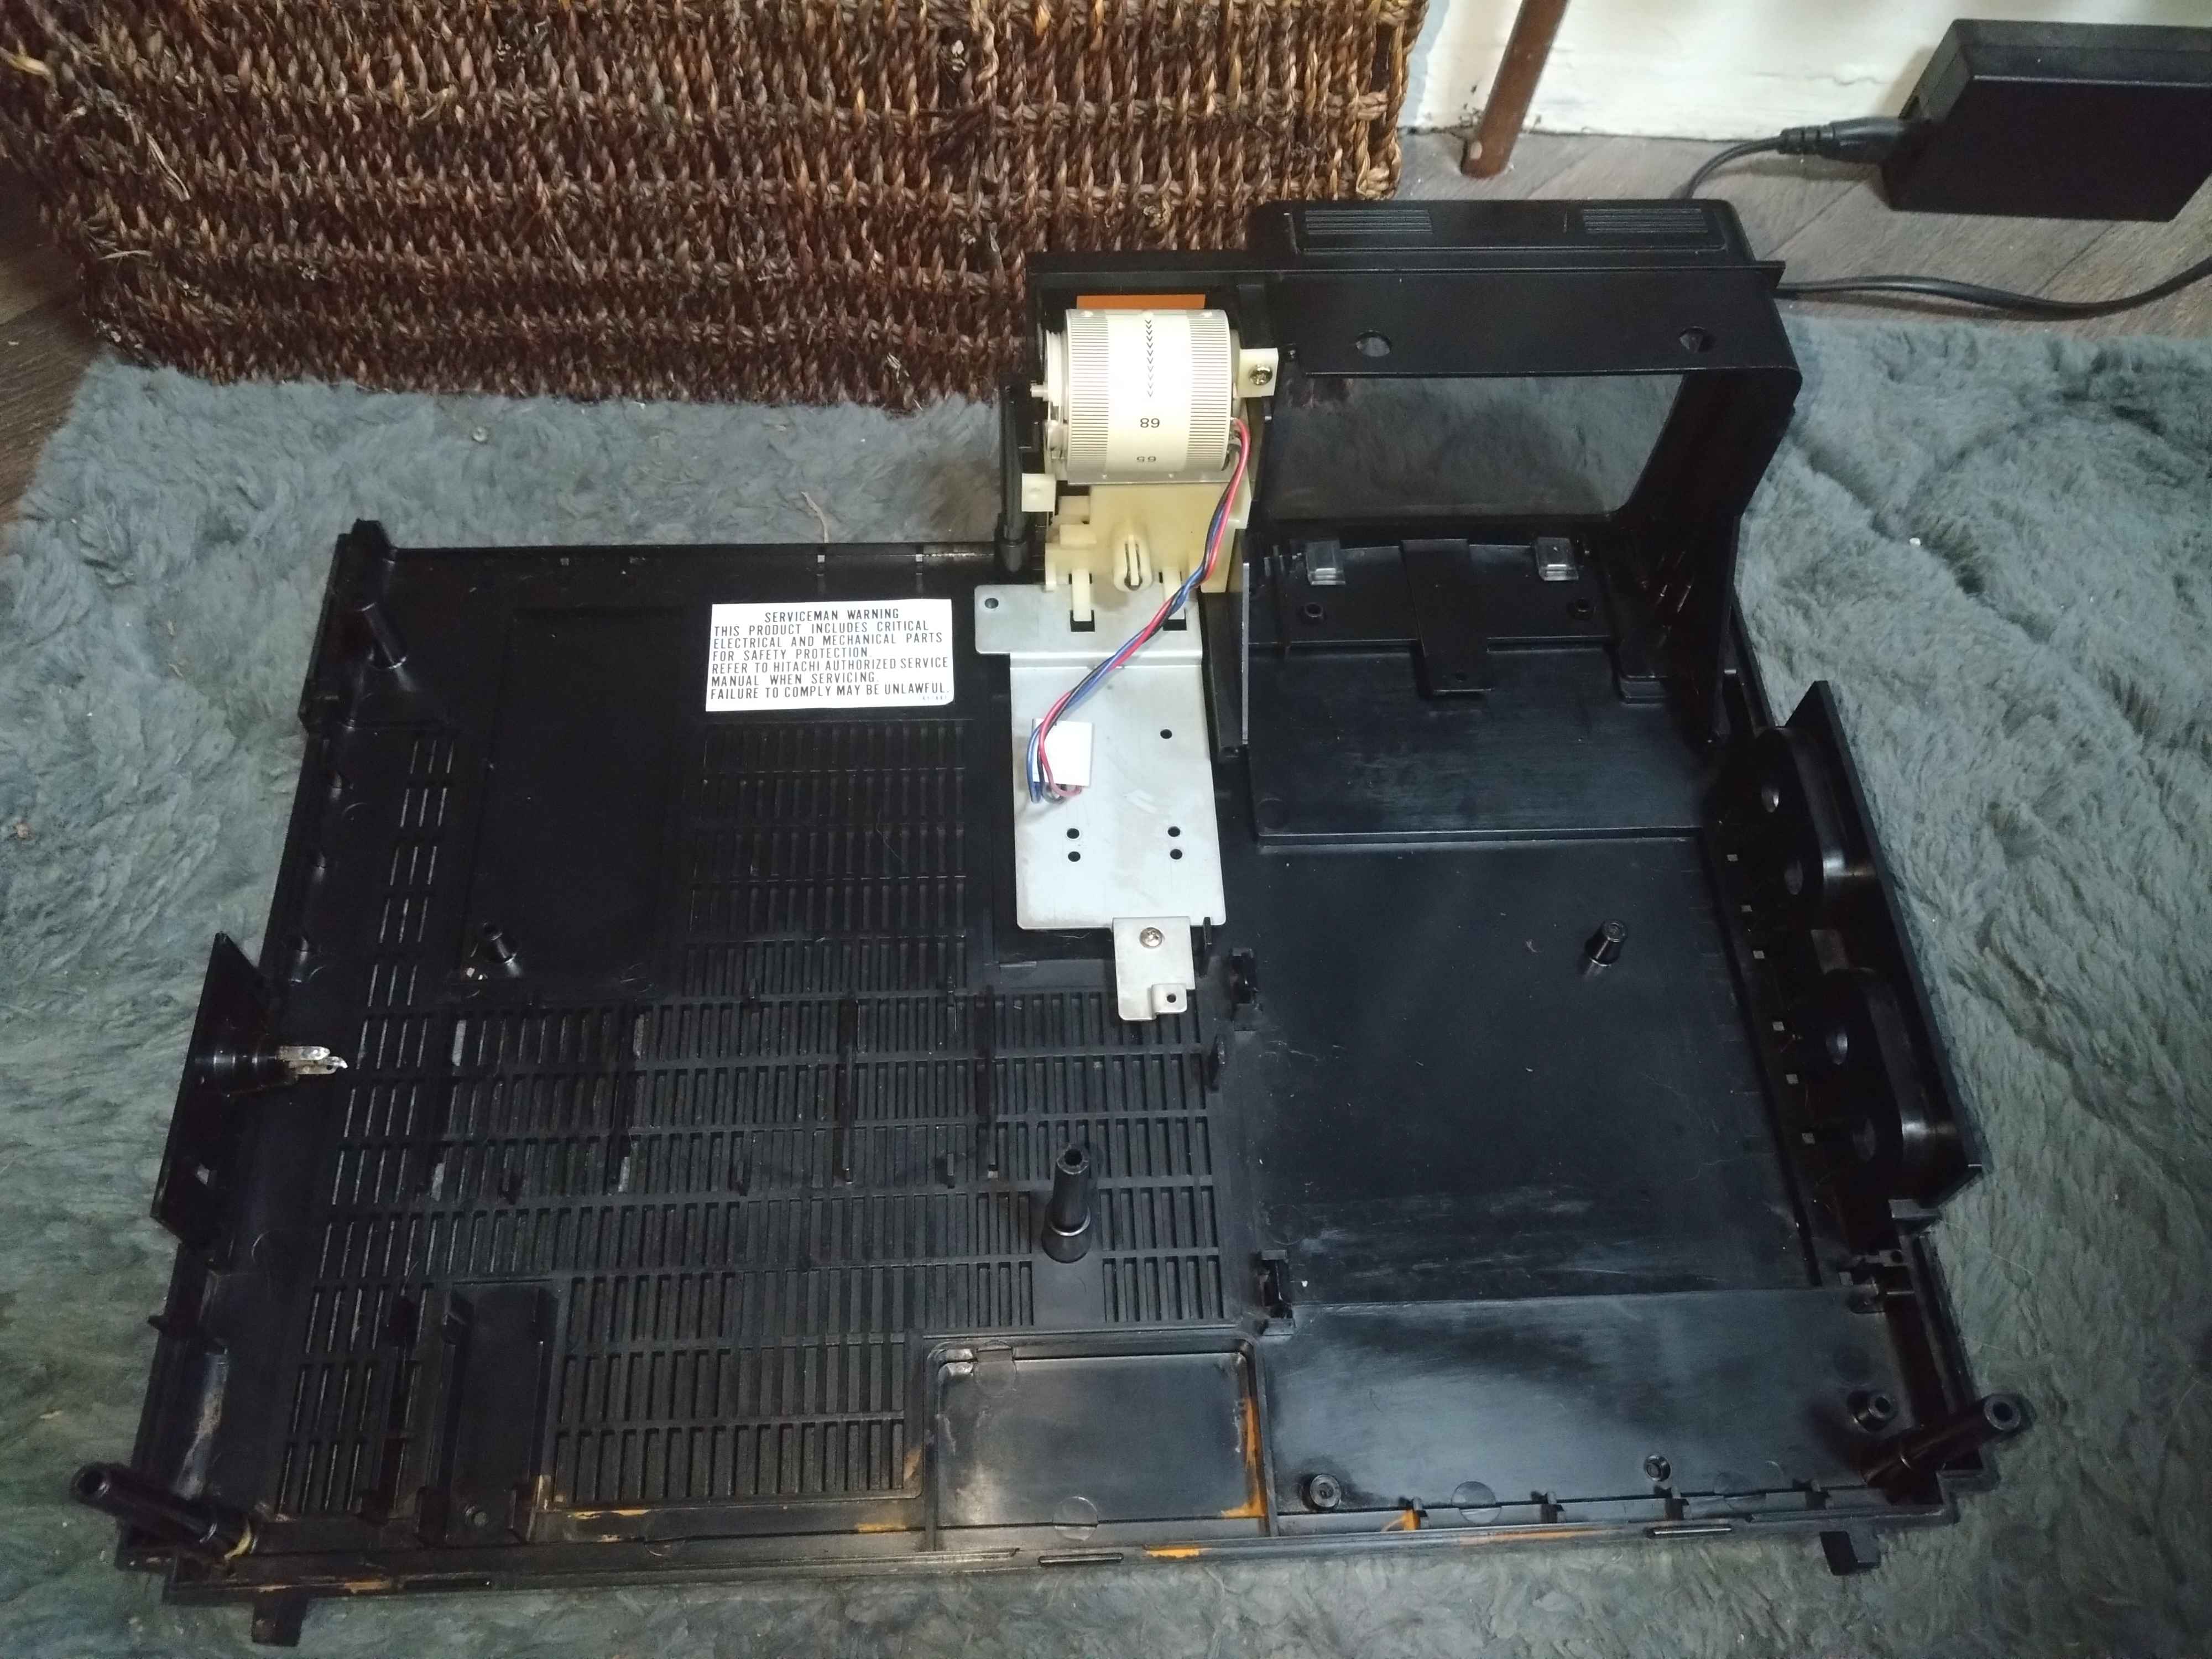
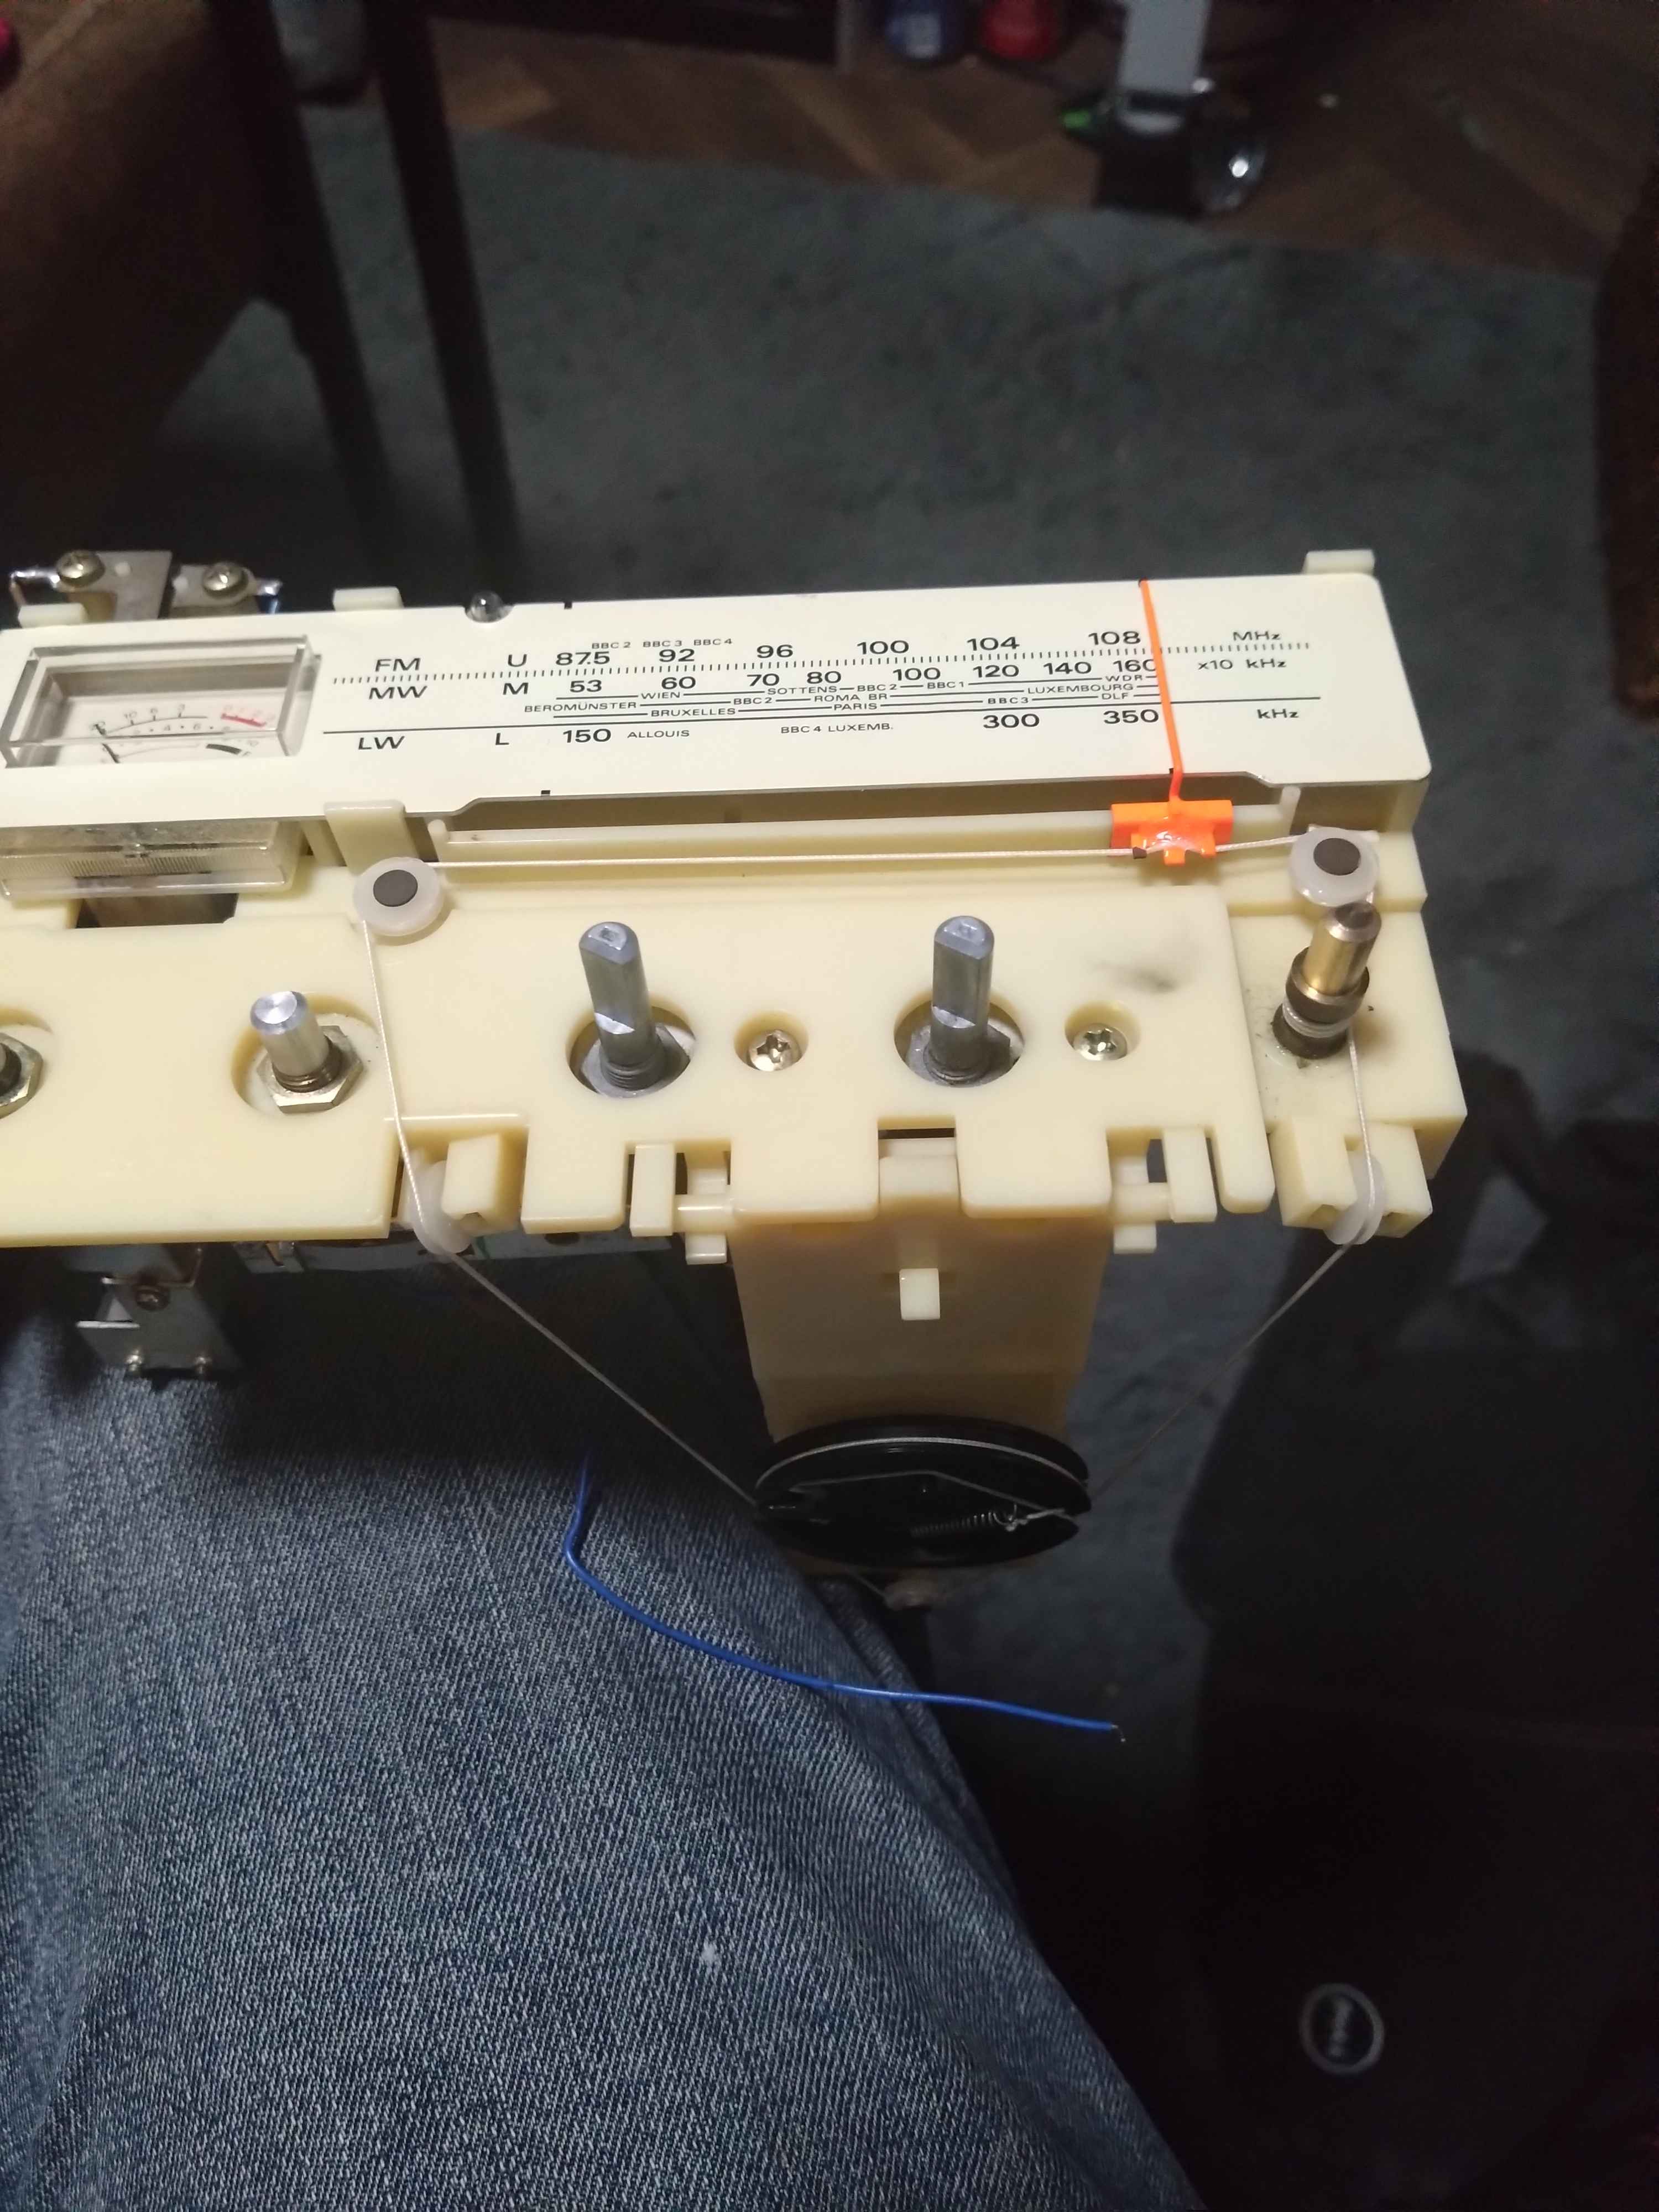
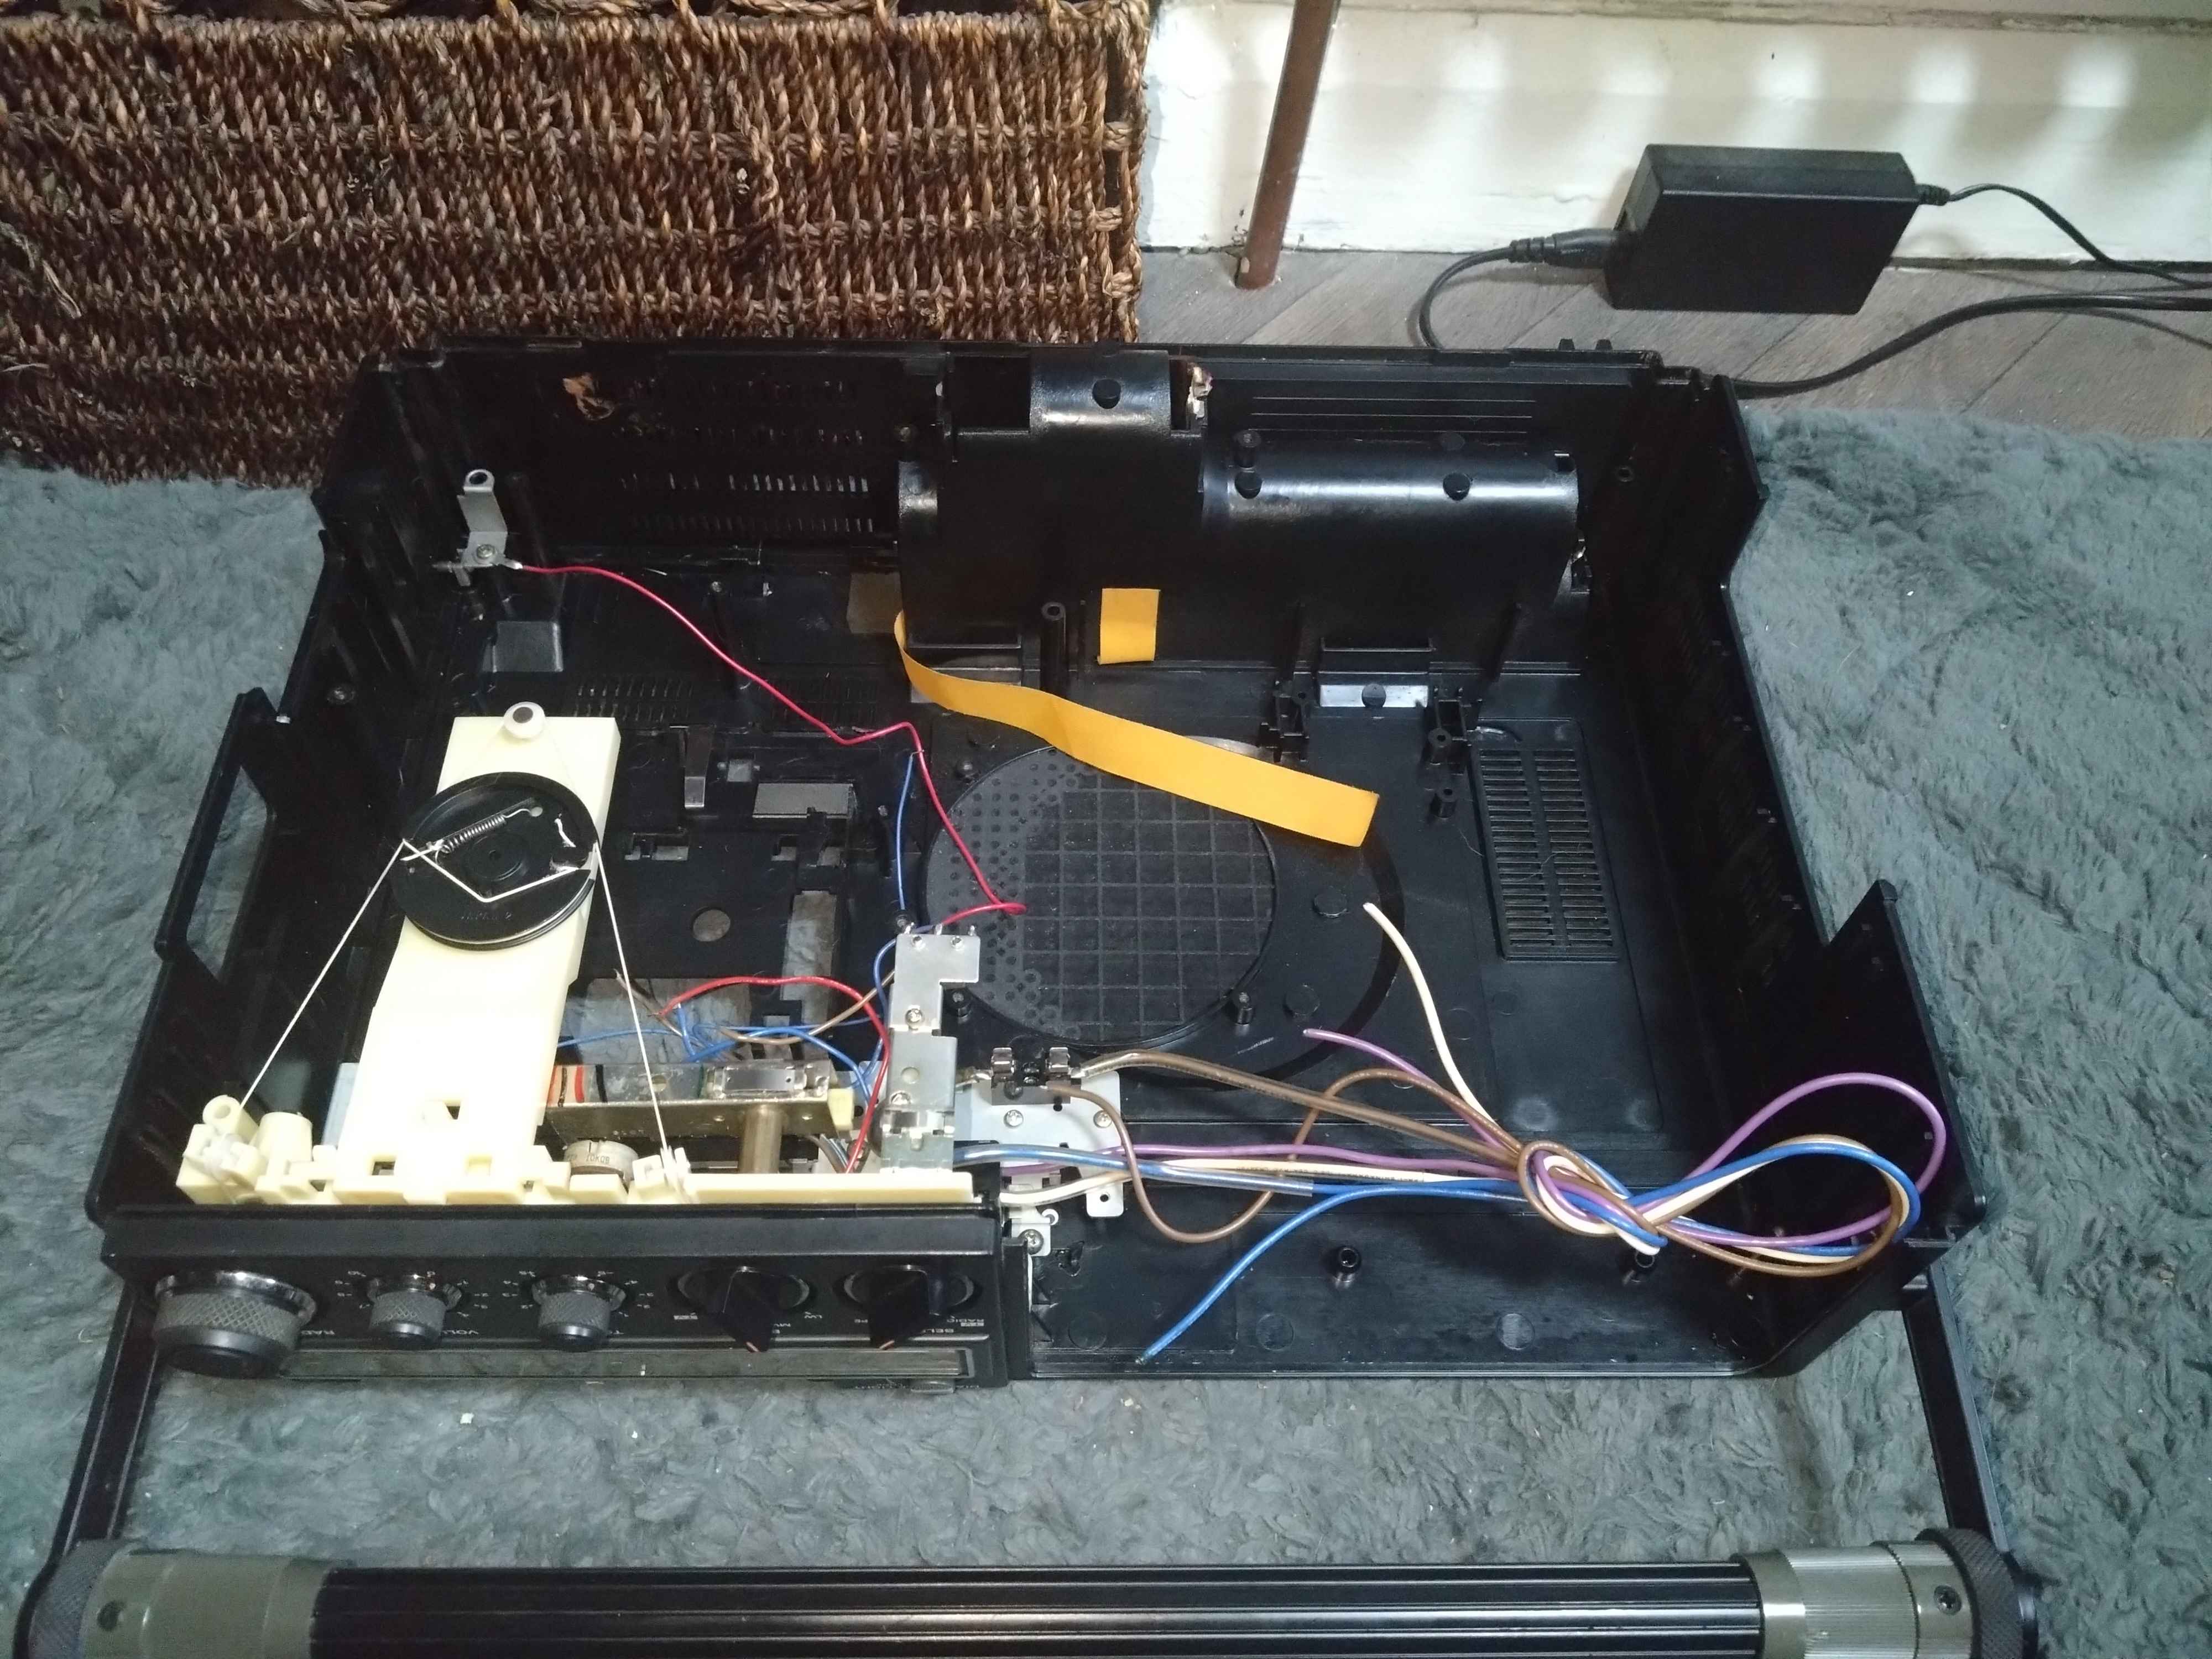
I took what I already had and wondered what would happen if I built a version I would genuinely use, could learn electronics from, and that my friends would enjoy seeing. So, at an unreasonable hour on a Friday night, I bought a dead TV/radio/cassette unit from eBay.
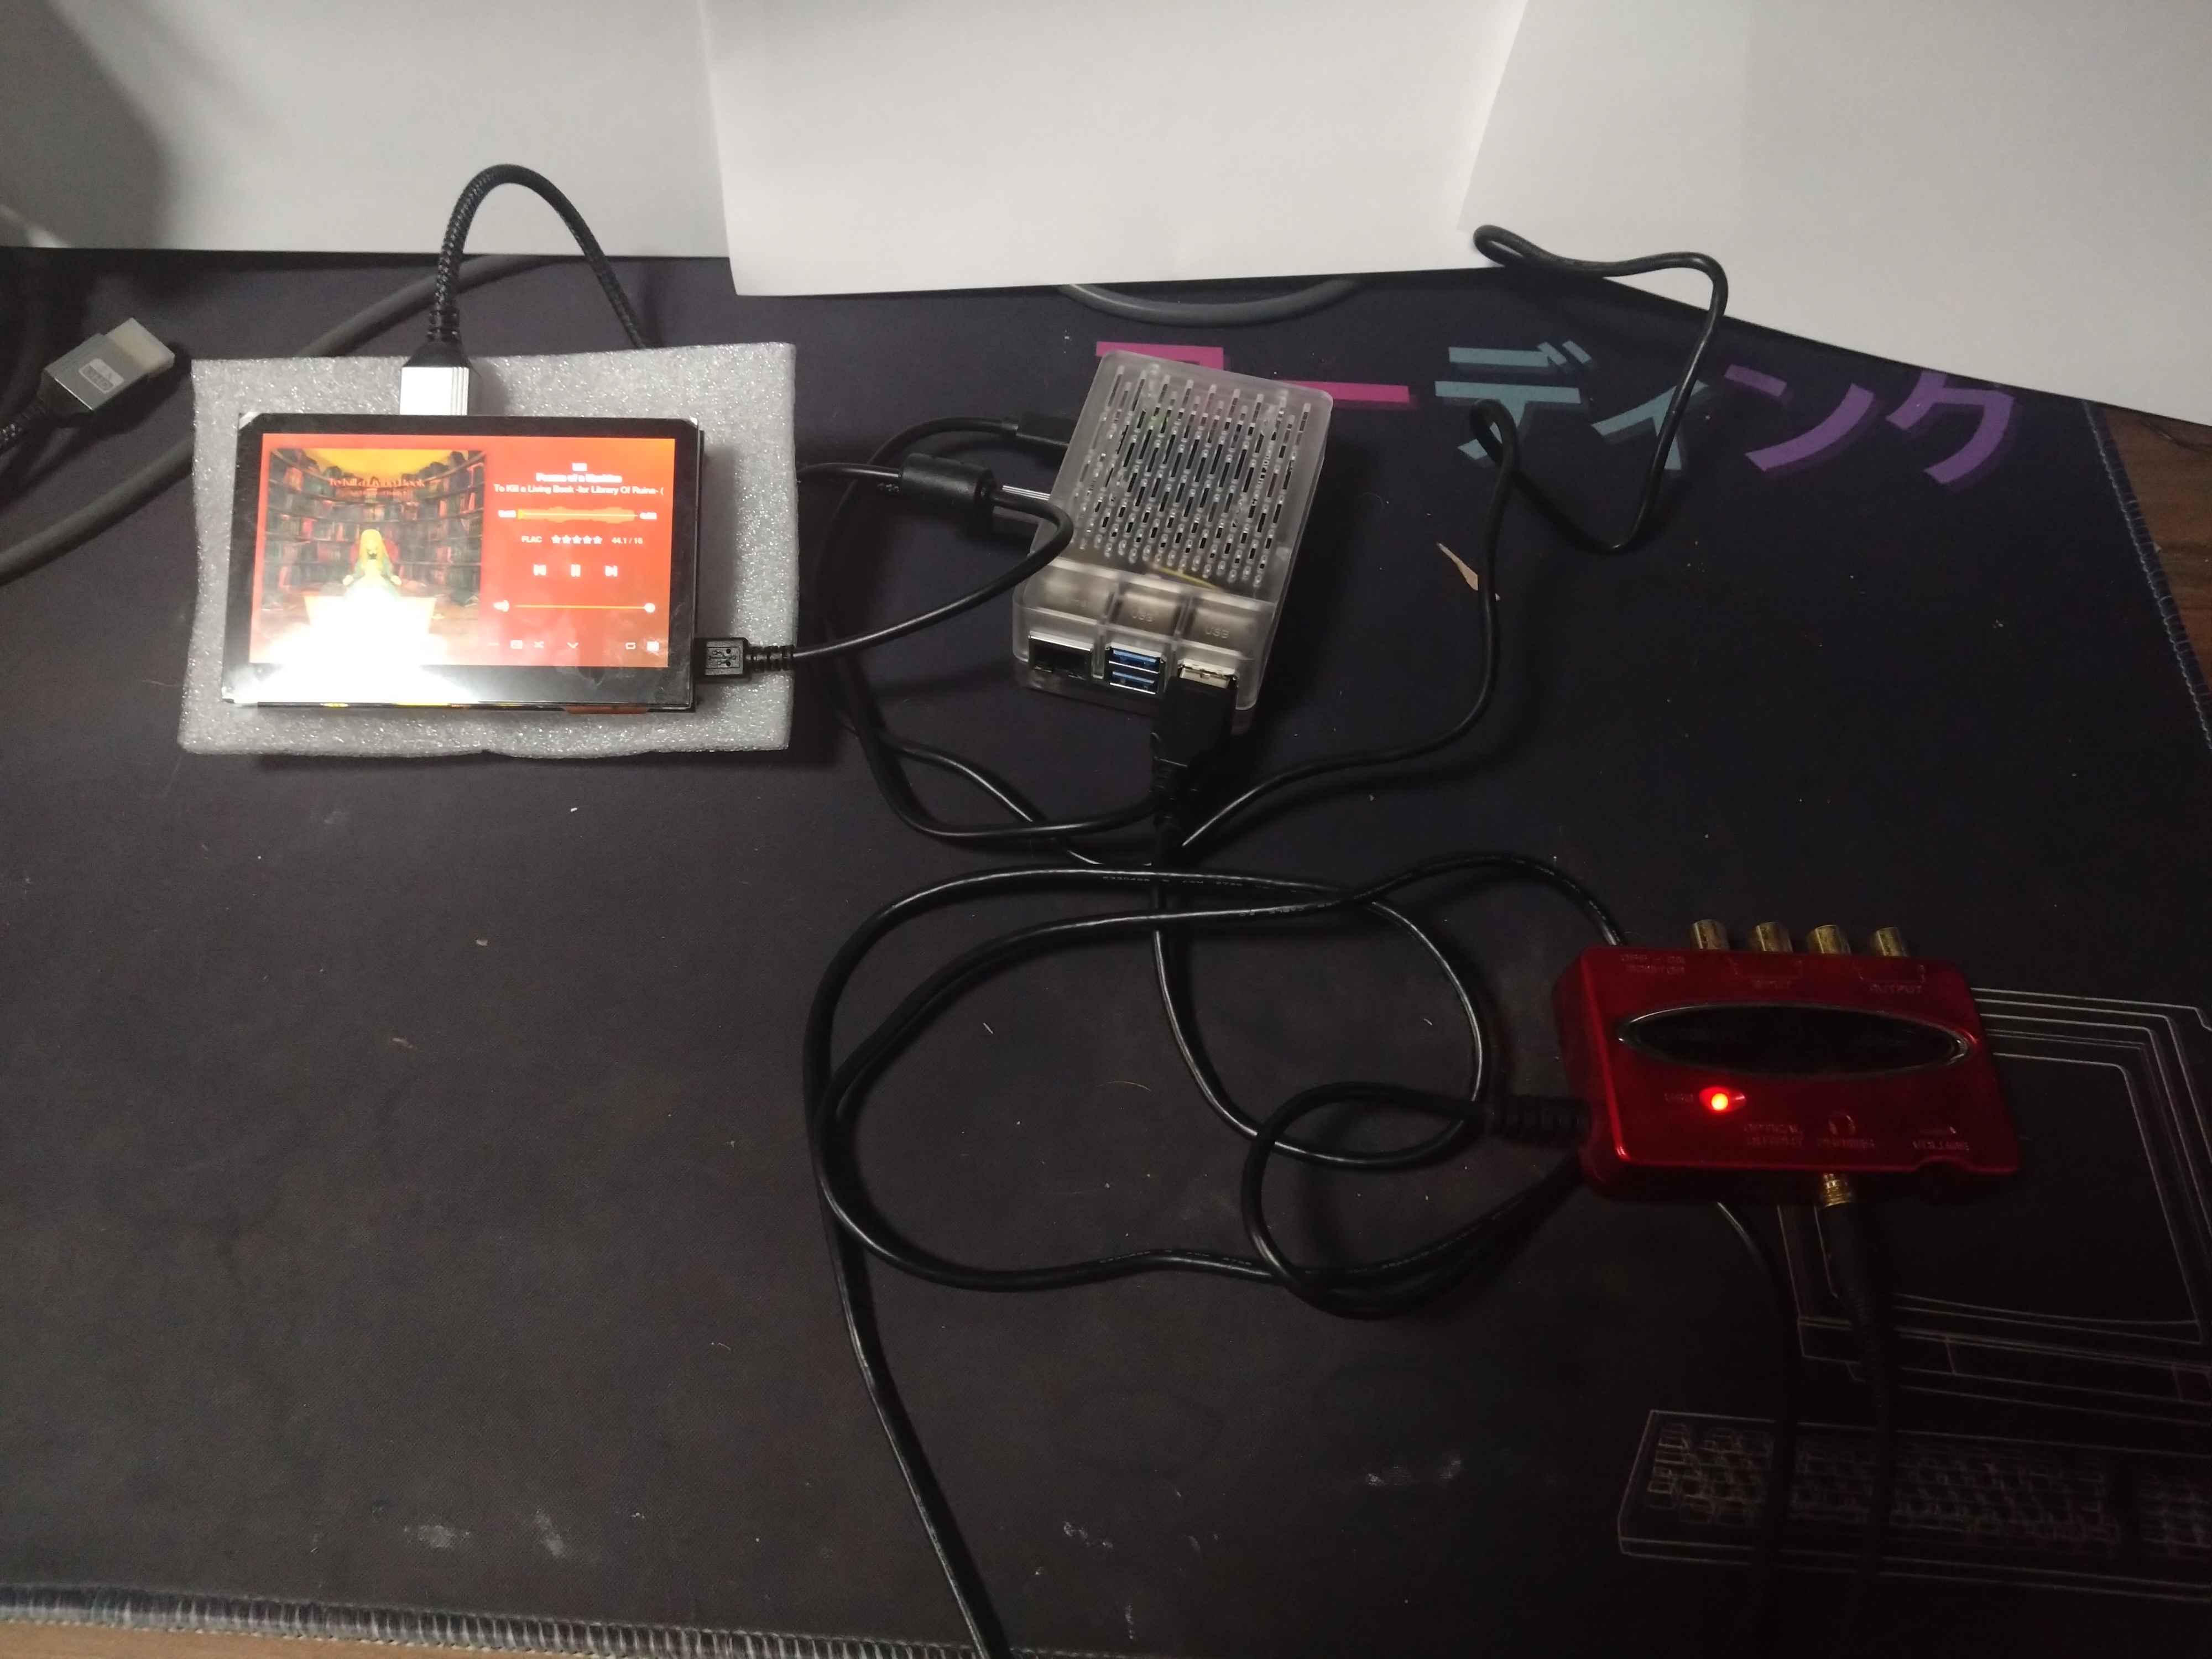
Since most of my media lives on Plex, the original idea was fairly simple: build a Plex-powered media machine into it.
One of the earliest additions was the audio visualiser. It was inspired partly by those little spectrum displays on 2000s car stereos, where having animated bars was apparently proof that your sound system was extremely serious. I considered using an OLED spectrum display, but I also liked the idea of LEDs reacting physically to the music.
I had never particularly liked how commercial music-reactive LEDs behaved, though, so I built my own approach instead.
That turned out to be one of the best decisions I made on the entire project. The RGBW visualiser became one of my favourite parts of the Ember Deck and eventually escaped into an entirely separate project: Desktop Shrine.
The rest of the build did not proceed quite so gracefully.
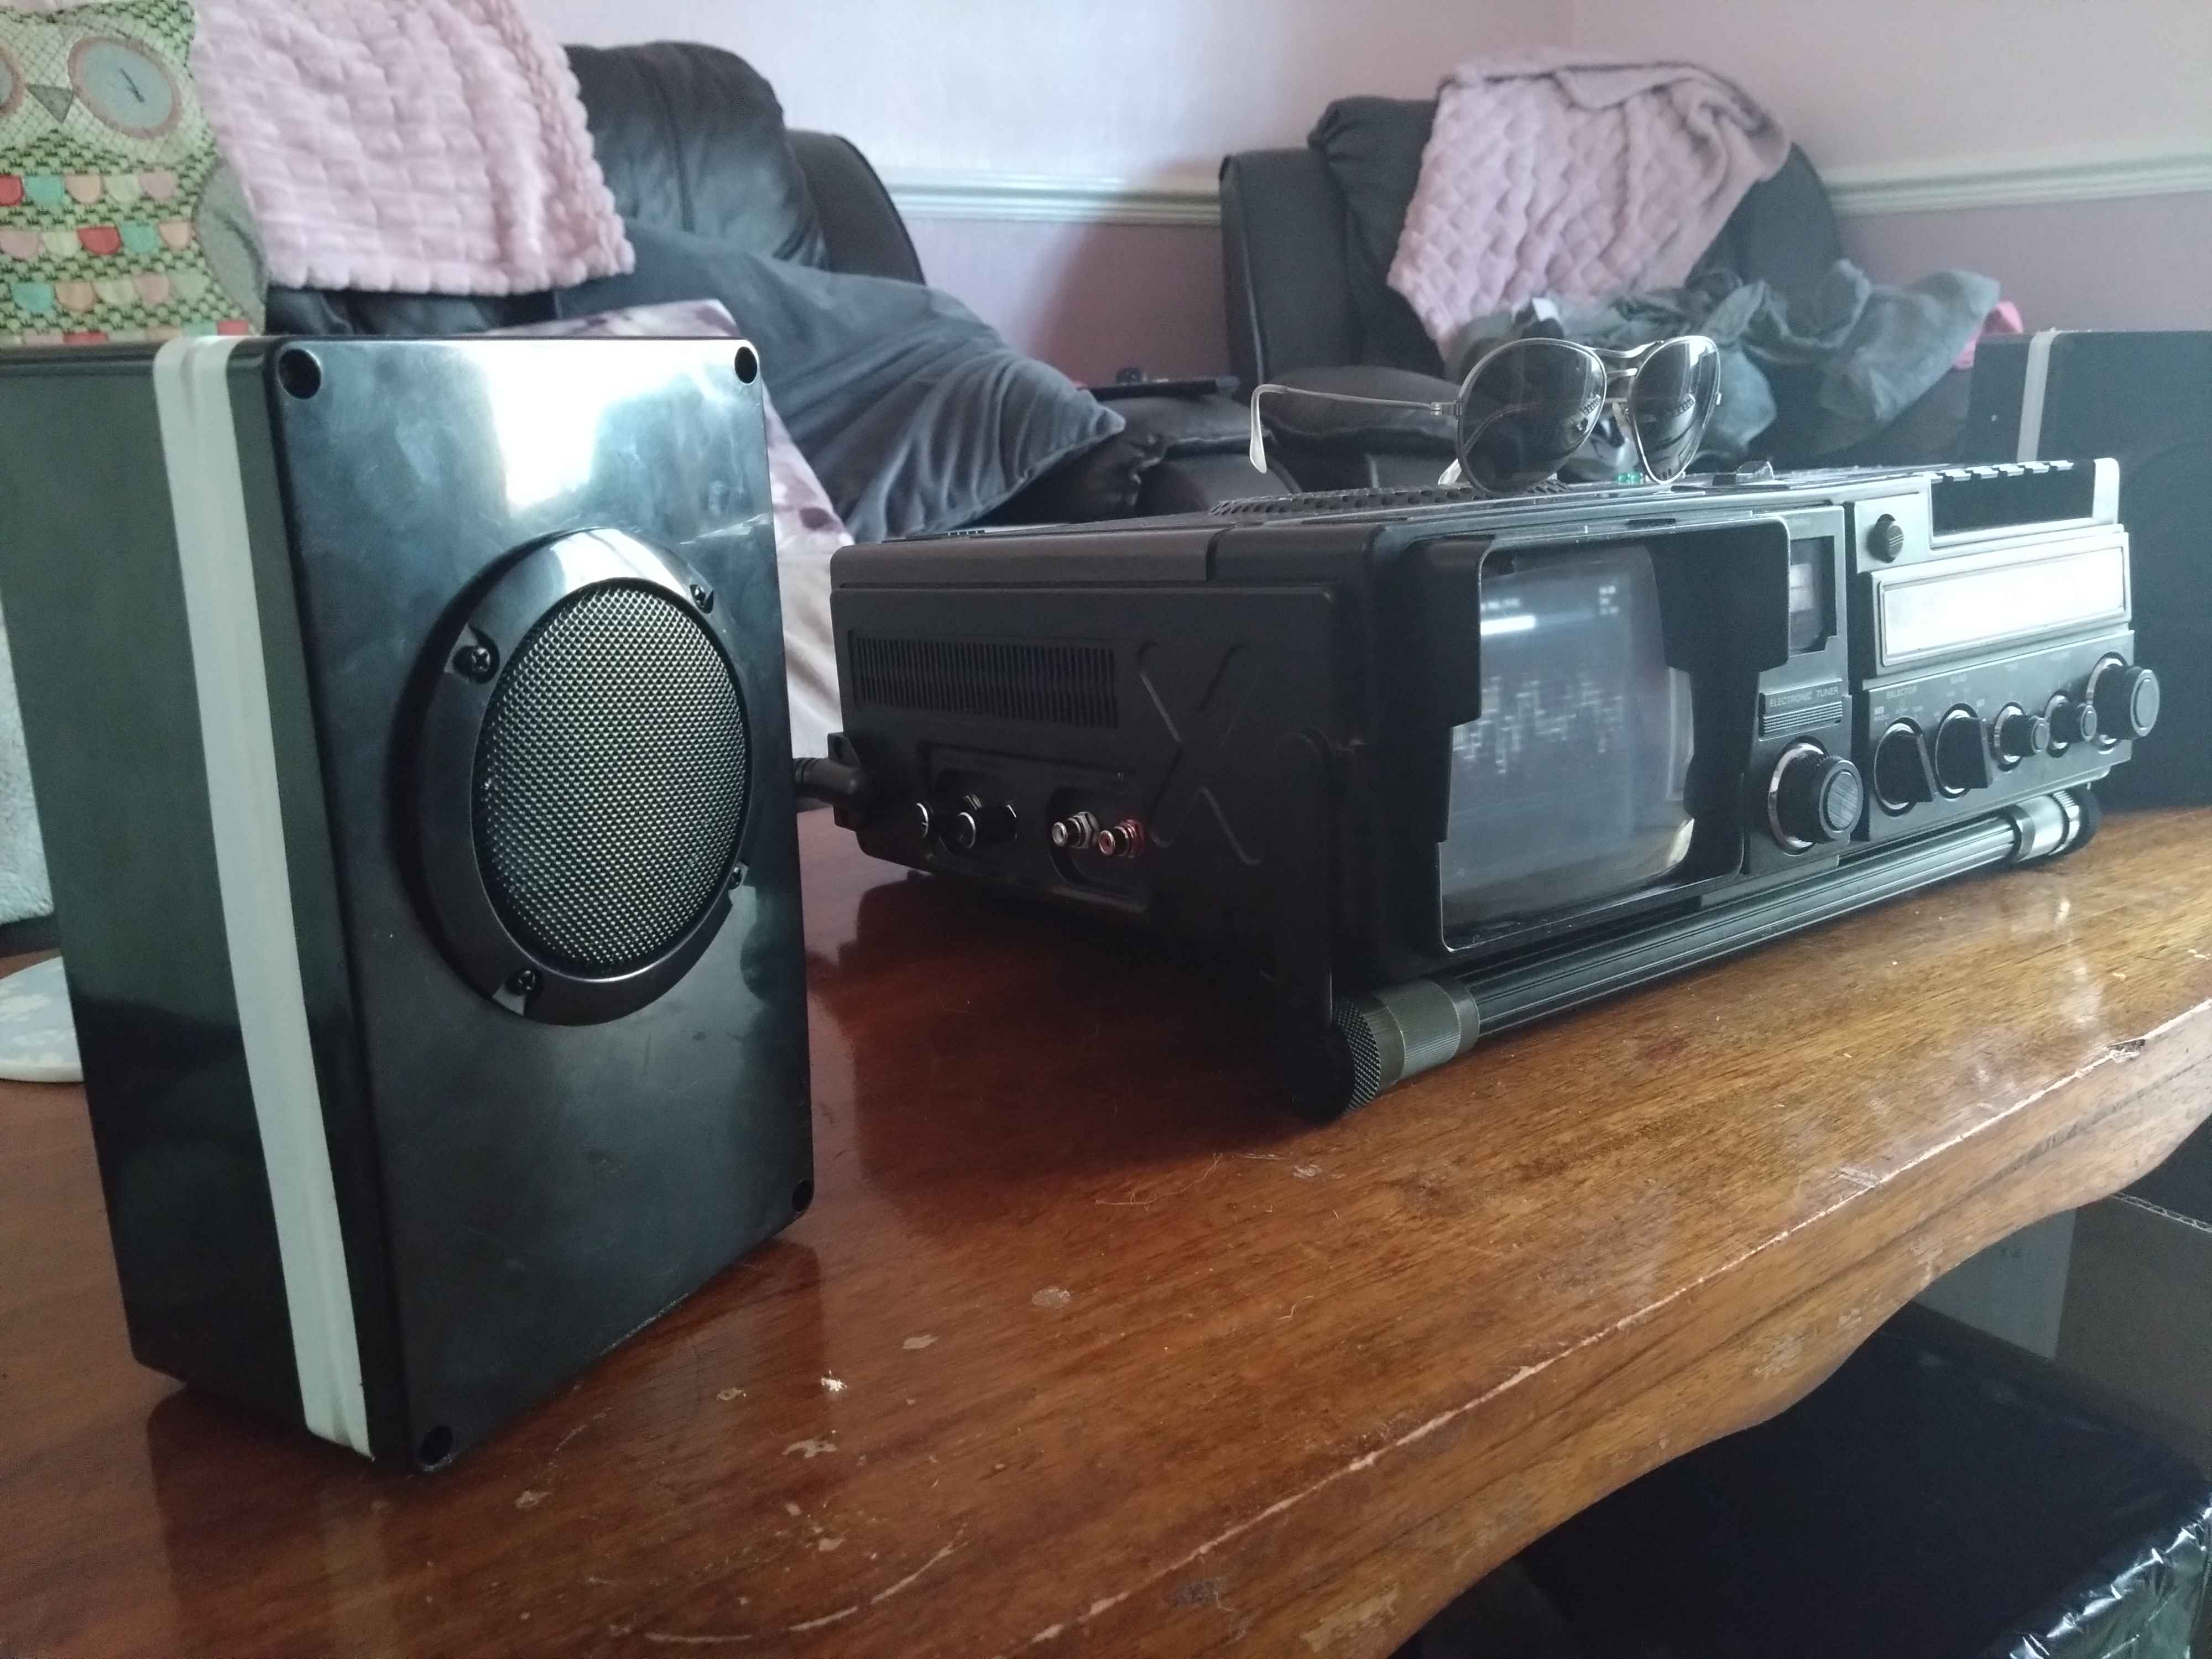
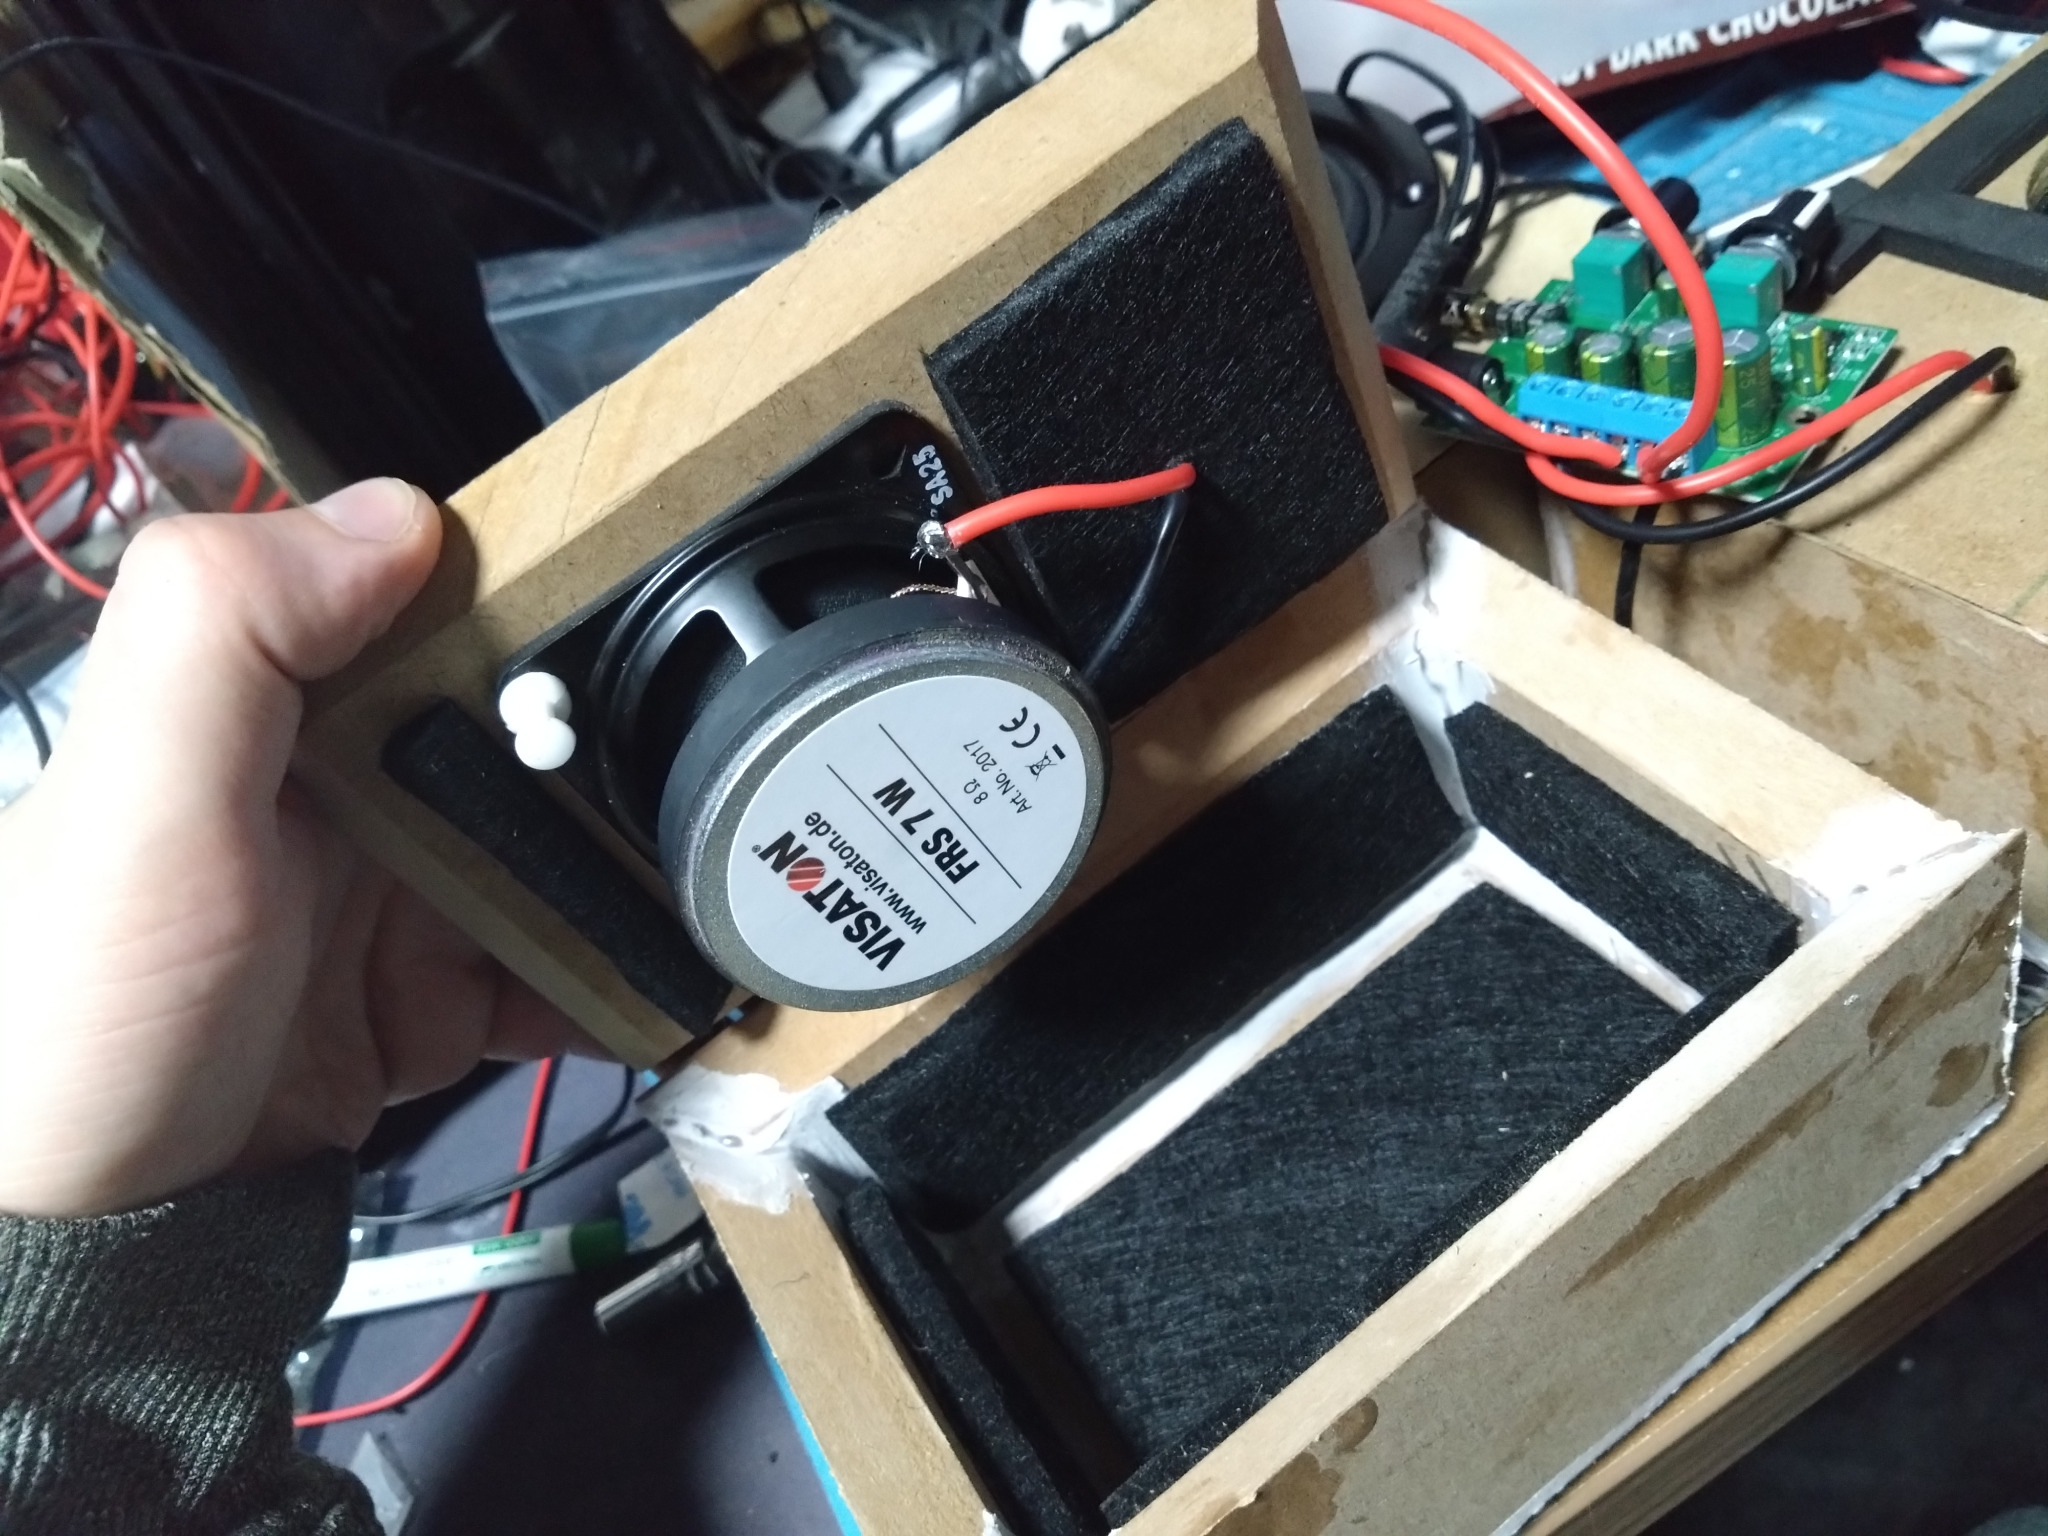
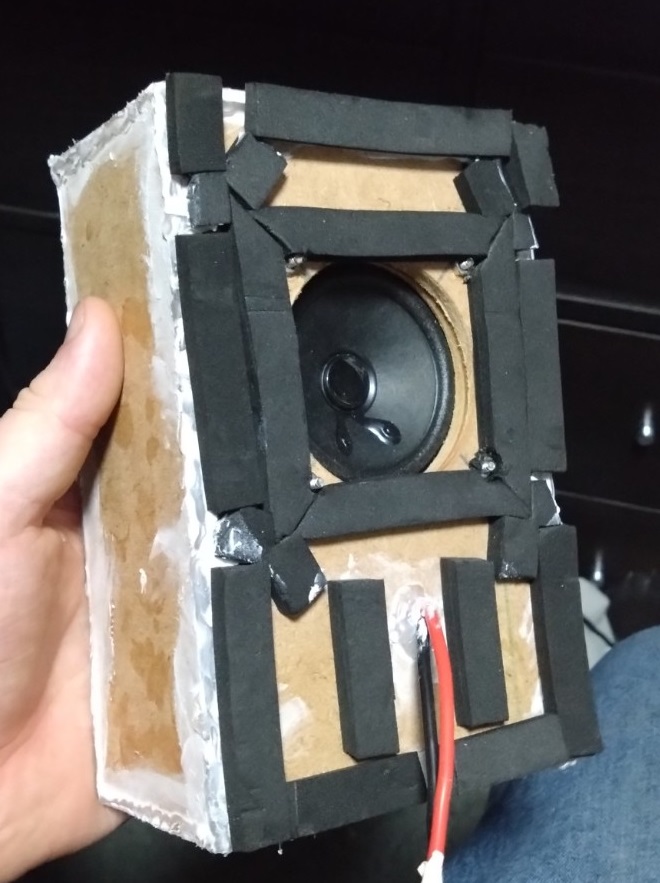
The speakers were originally supposed to remain internal. That plan resulted in me learning considerably more about speaker enclosure design than intended, and the external speakers that eventually came out of it sound good enough that building my own home-cinema speakers is now sitting ominously on the future-project list.
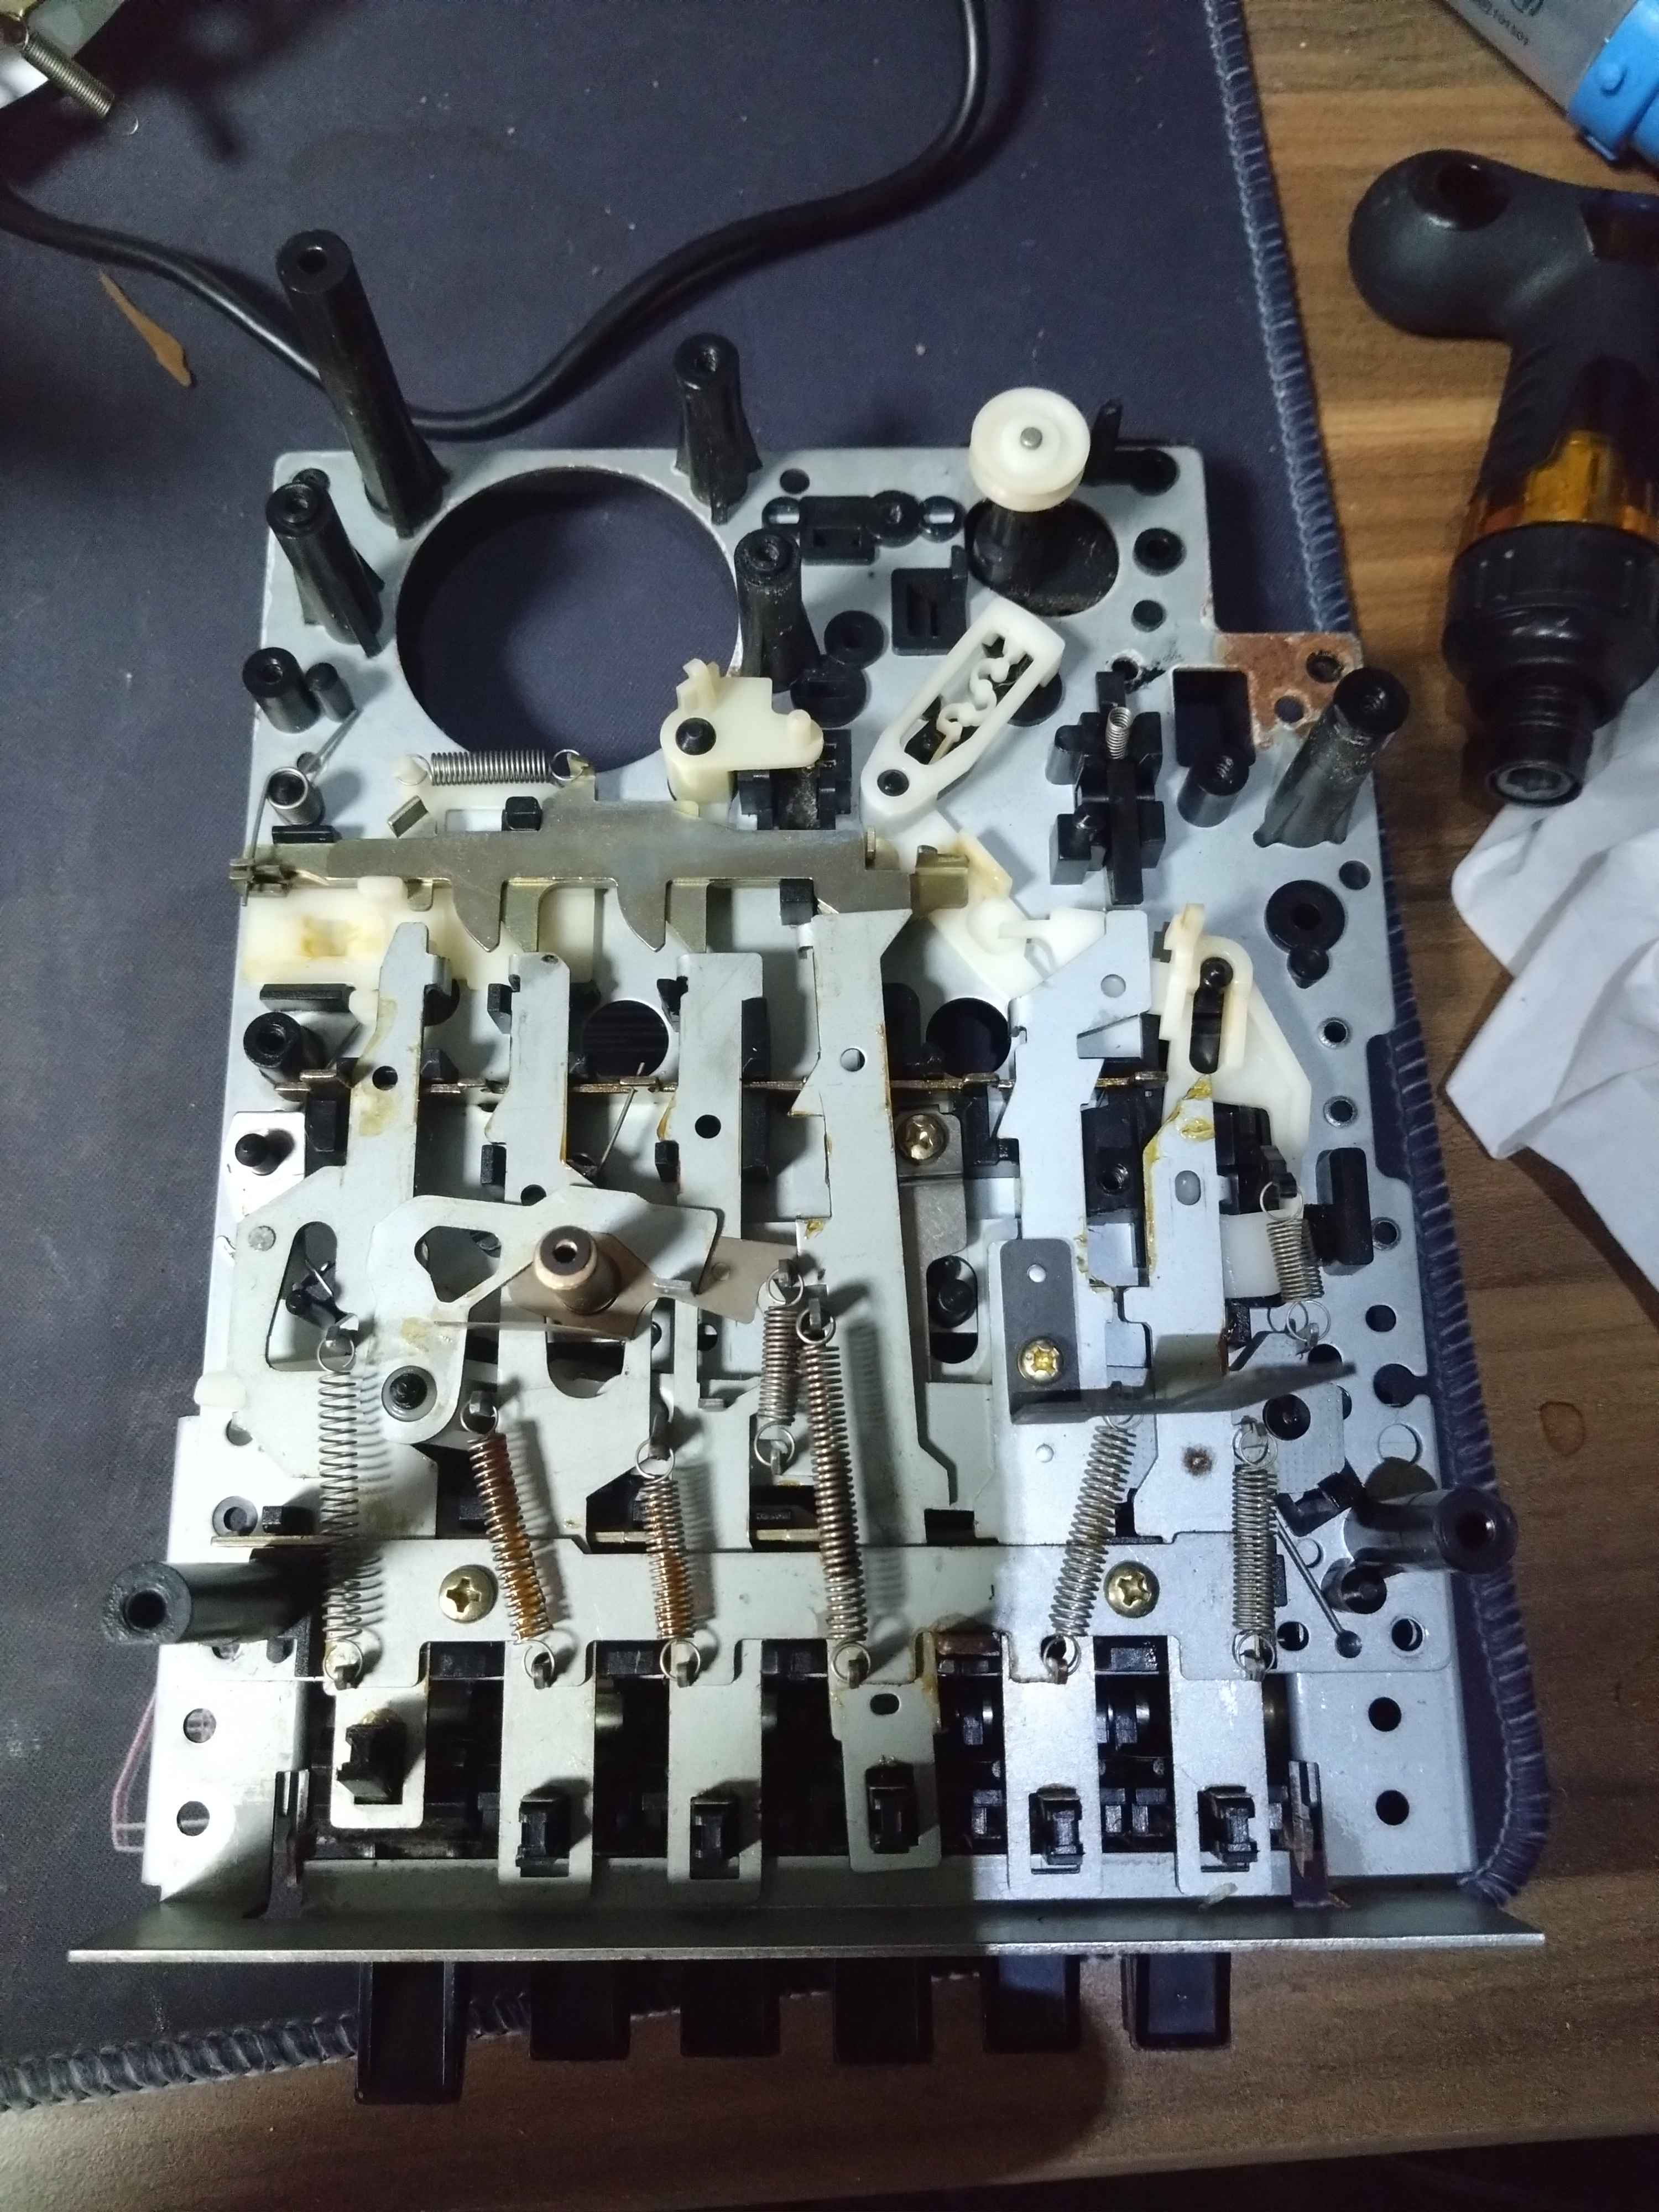
Turning the cassette deck into a touchscreen also looked considerably easier when other people did it.
The status LEDs on top were added mostly because I still had plenty of unused I/O and apparently leaving pins unemployed is unacceptable.
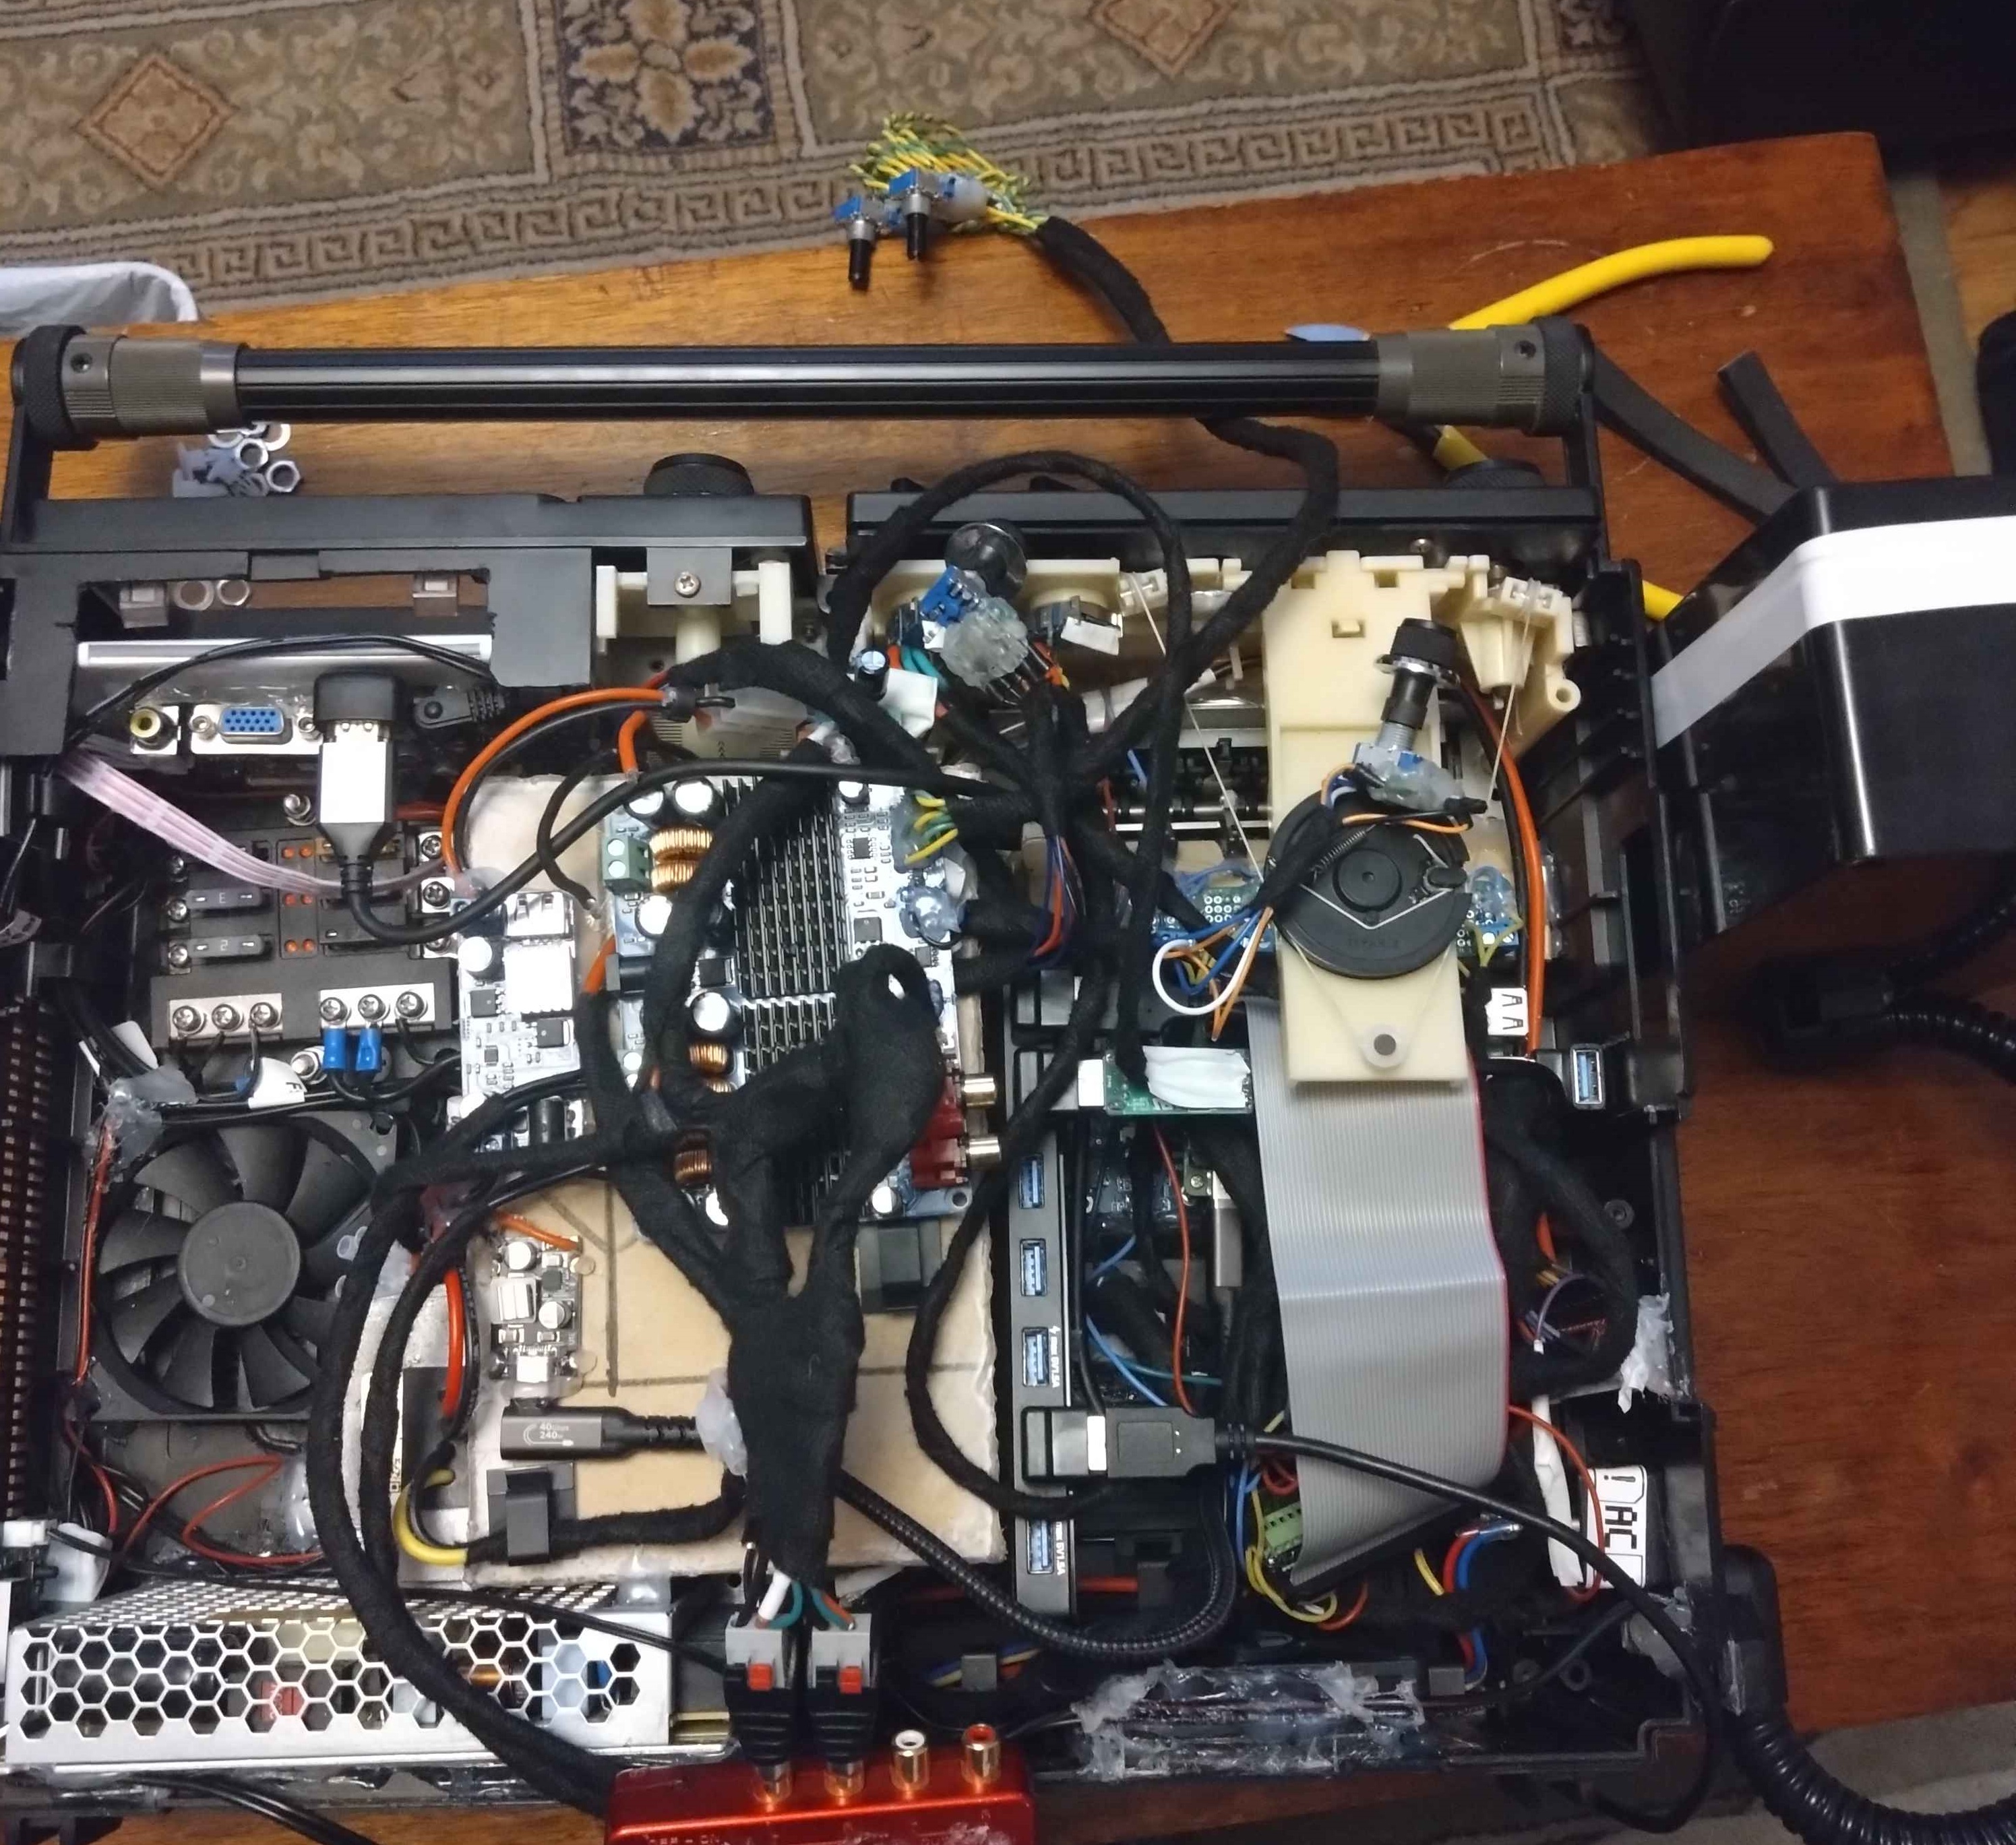
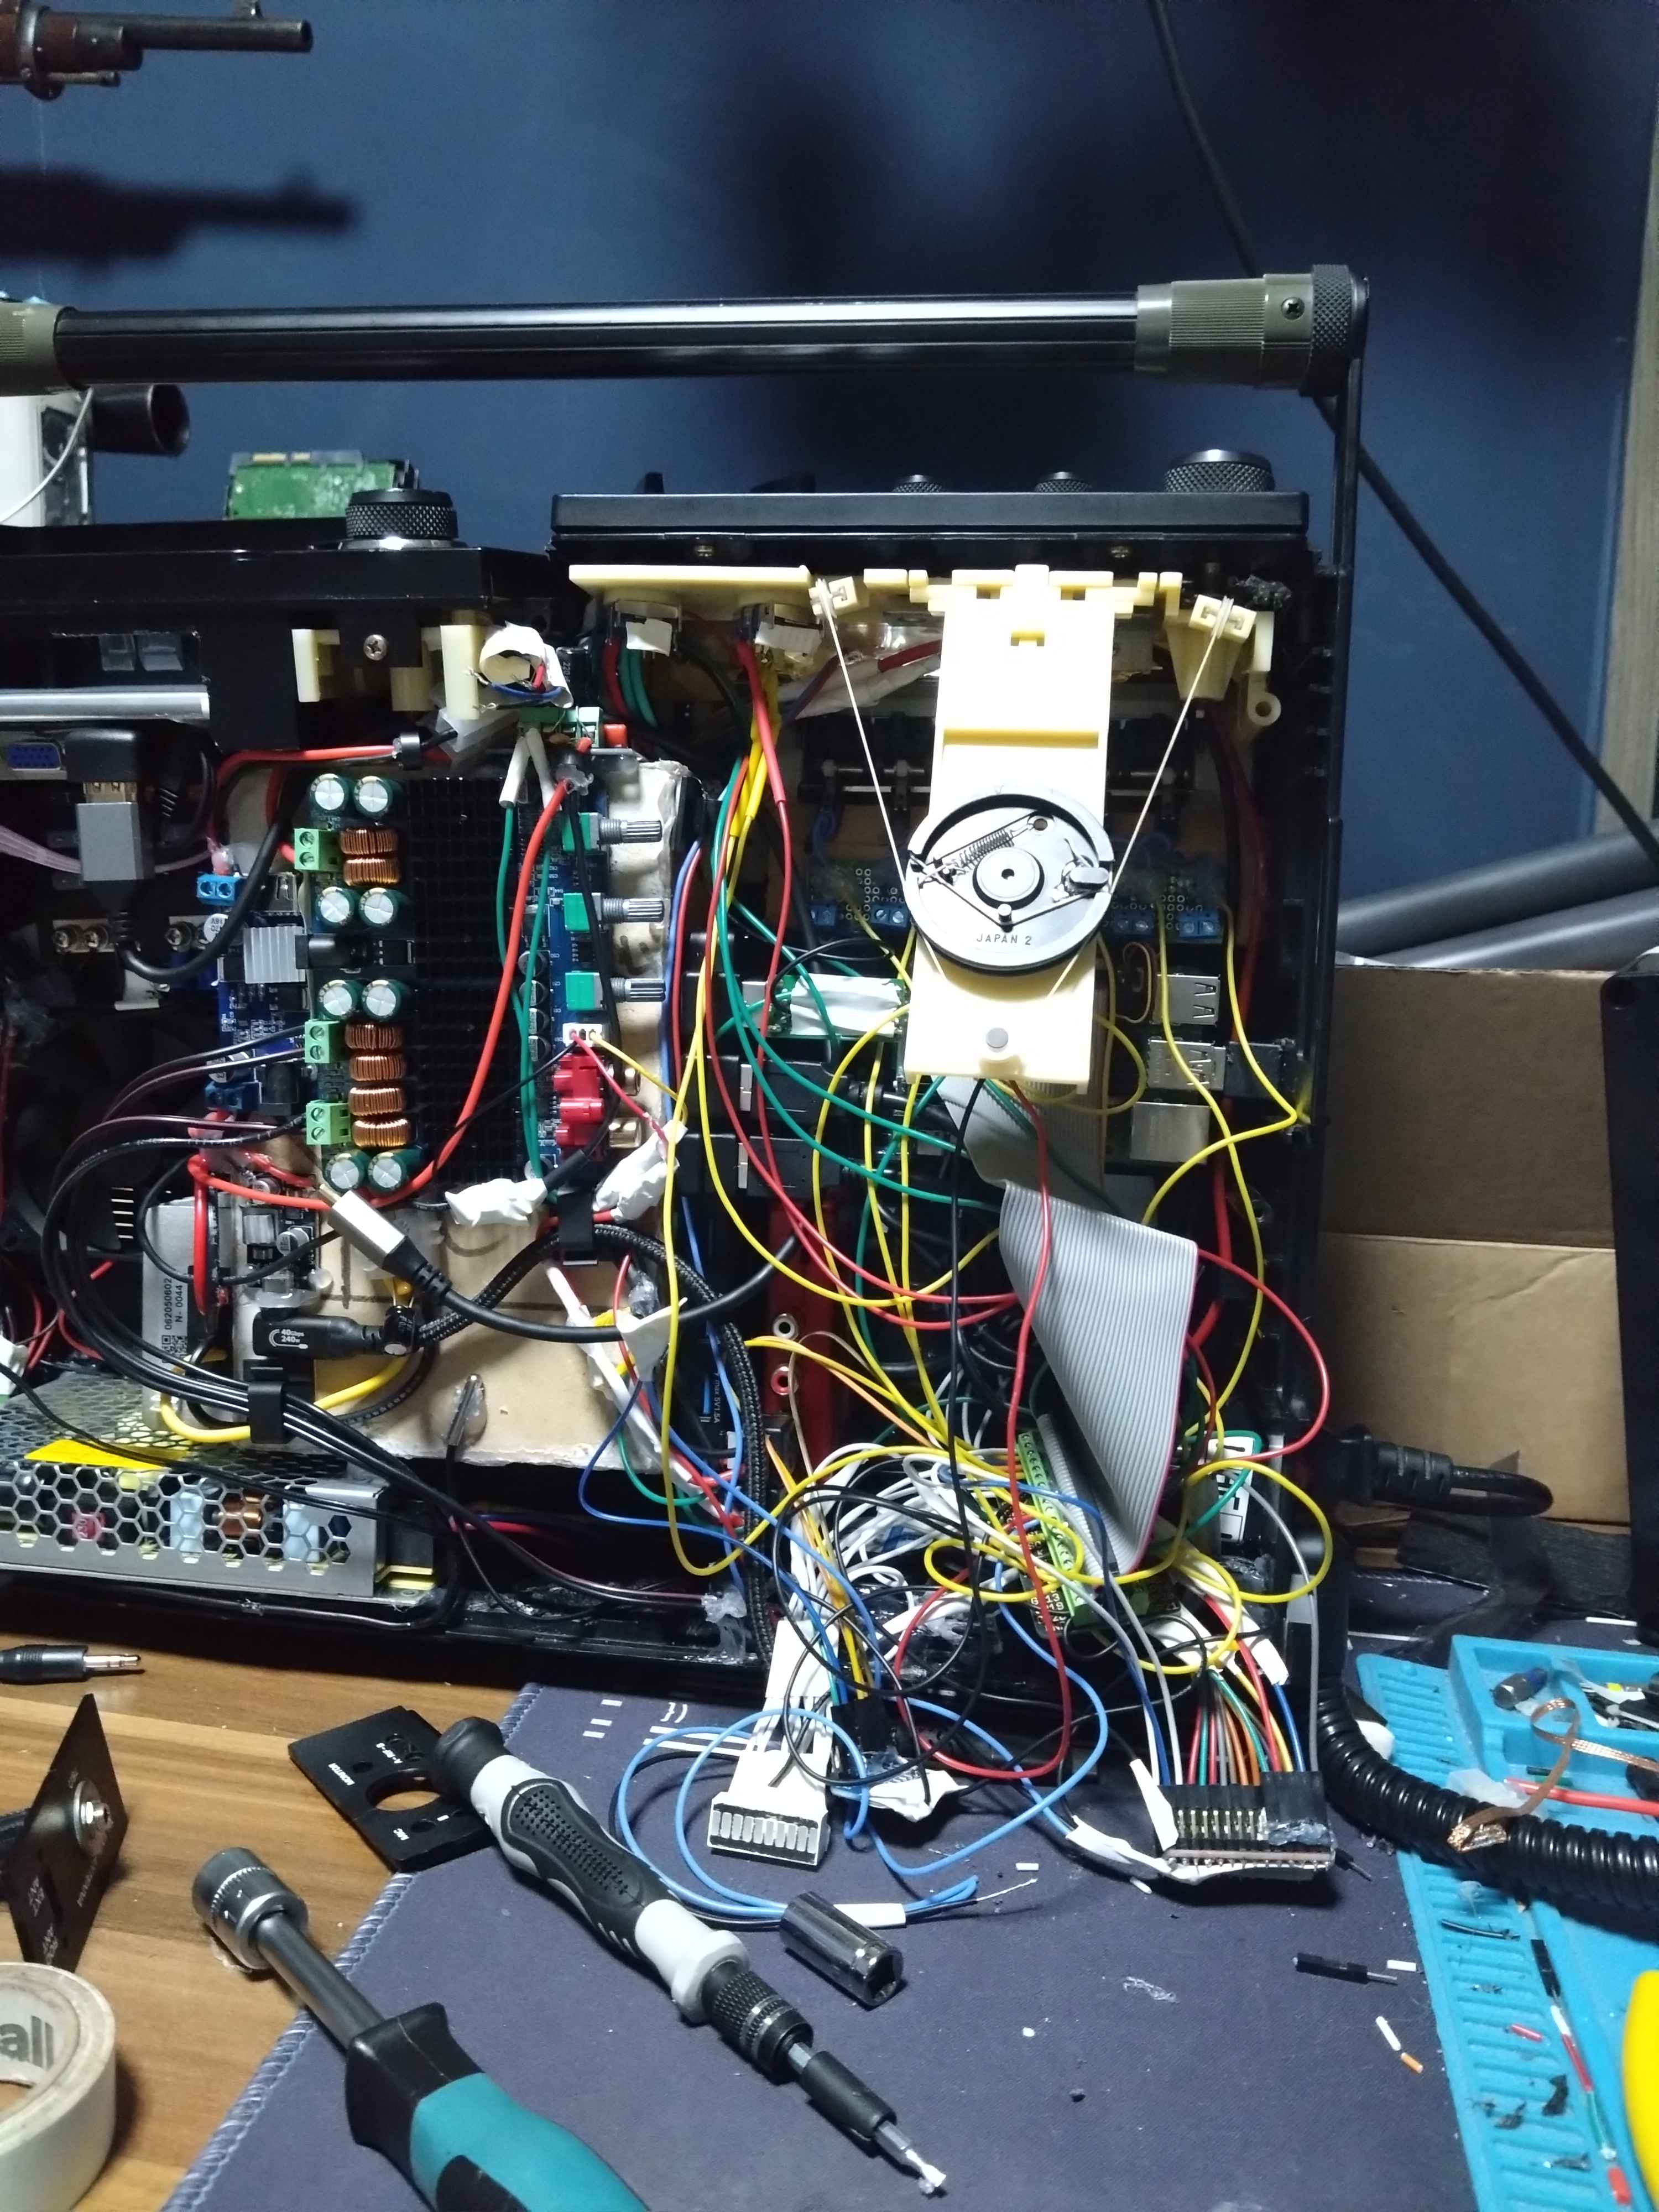
Everything that could go wrong generally did. I killed three amplifier boards and one display along the way, each providing an exciting and increasingly expensive opportunity to learn electronics.
Near the end I also added Bluetooth, YouTube Music and DAB radio, largely as productive procrastination while avoiding the terrifying final act of actually sealing the case together.
For the fuller story, including considerably more questionable engineering decisions, the GitHub README documents the build in much greater detail.
Capabilities
Key features
- 01
Raspberry Pi 5-powered media centre
- 02
Integrated vintage TV, radio and cassette hardware
- 03
Custom Textual interface designed around the physical controls
- 04
Multiple display and media modes
- 05
Audio-reactive RGBW lighting
- 06
Plex, Bluetooth, DAB radio and YouTube Music source support
- 07
Full Plex integration
- 08
Bluetooth, DAB and YouTube Music metadata support when available